Creating new vehicle configs
Creating your own car configurations is fairly simple and allows you to have your car be exactly the way you want it.
Once you’ve created a new configuration, you’ll be able to re-use it in later sessions, both in free roam and scenarios.
The first step to creating a new custom configuration is to choose the vehicle (and configuration) that you will be using as your starting point.
Parts Selector
To access the Parts selector, press escape and select the Vehicle Config in the top menu.

You can use the Parts selector to choose the components you want for your custom configuration. Don’t forget to press Apply at the end.
The Parts selector is set-up like a tree, with some parts being dependent on other parts. Some parts might not be available depending on which parts you selected before.

Tuning Menu
The Tuning menu will offer different settings based on the parts you’ve chosen. Racing suspension and drivetrain parts will often unlock additional adjustments, while road going parts will not be adjustable.
Adjusting those settings is done by moving the sliders or inputing values in the textboxes. Keep in mind that the range of adjustement of each setting has minimum and maximum values, which vary by car for the same component.

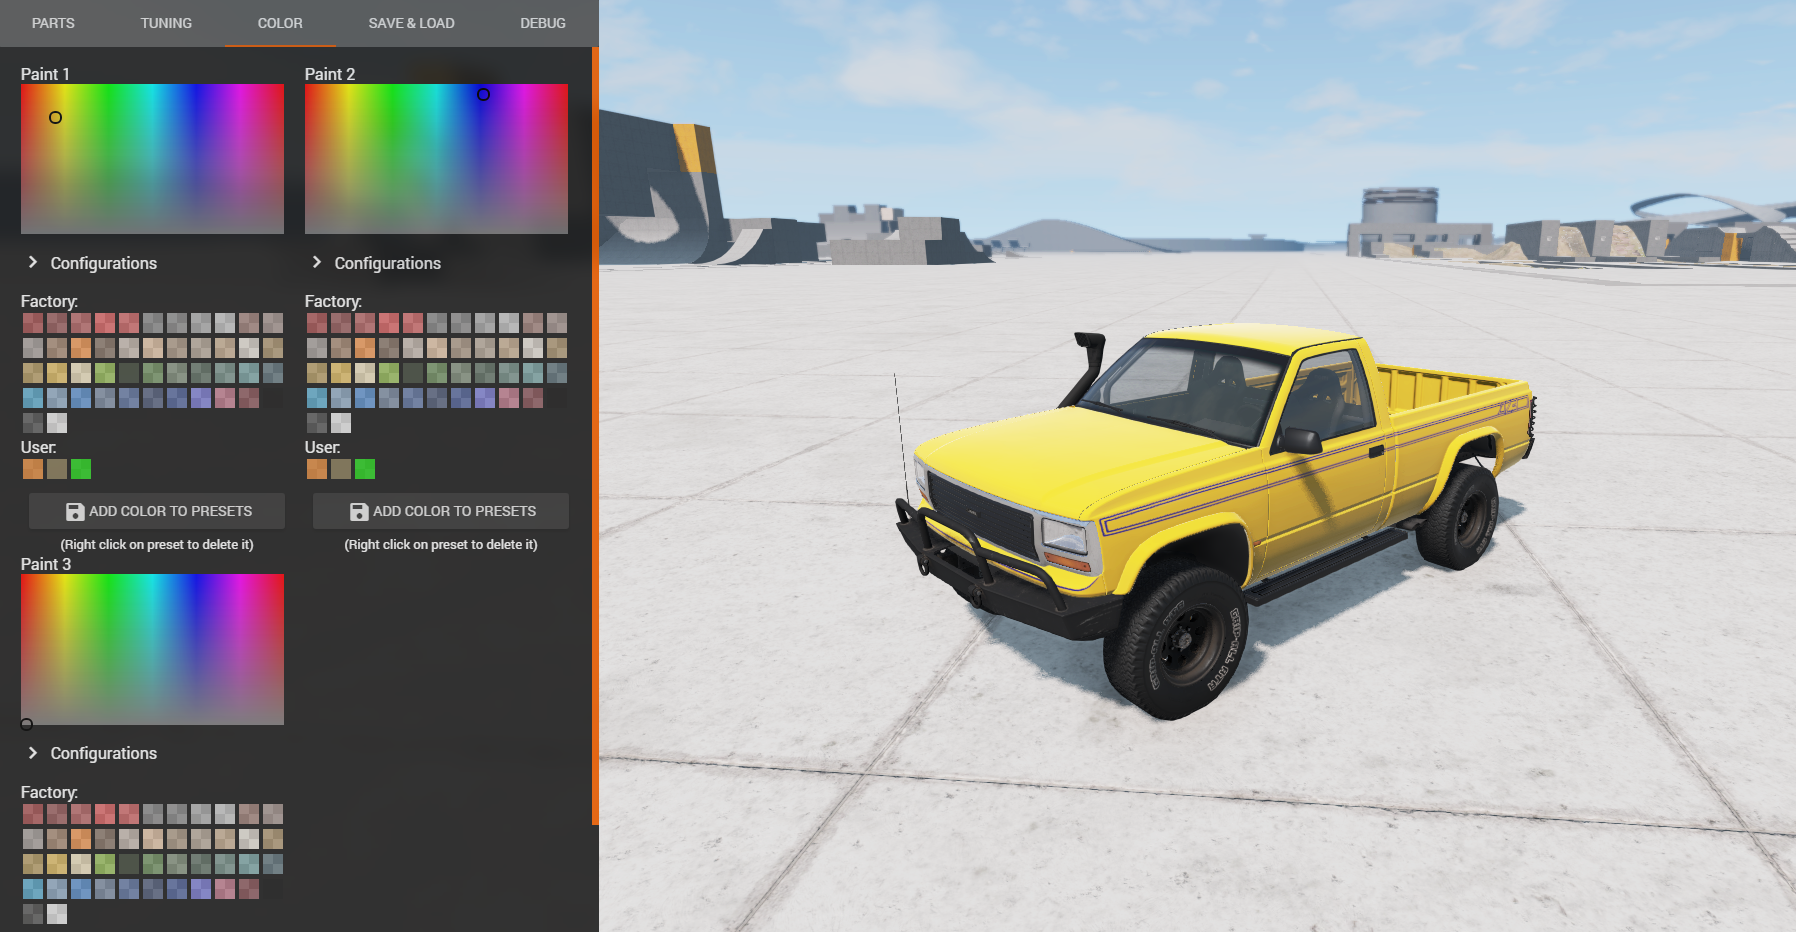
Changing the Color
You can change the color of each slot in your vehicle’s paintjob using the three paint selectors. Keep in mind that some vehicles and skins will only use one or two colors, meaning the other colors will have no effect.
Saving your Config
Saving your configuration is done by entering a name for the configuration and then clicking Save.
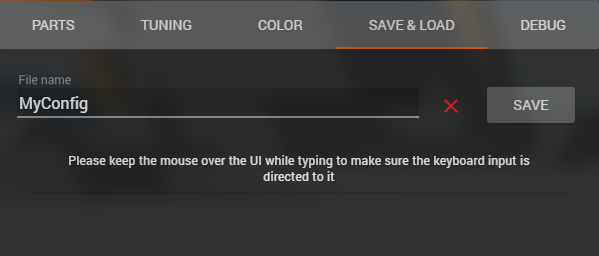
Keep in mind that the game will automatically take a screenshot of your car to use as a thumbnail, so you should adjust your view to get a nice picture.
Using your configuration
To use your custom configurations, you can either load them from the Save & Load menu , or you can use the Vehicles Selector and choose your configuration in the list.
Vehicles selector, and to be able to use it for scenarios, you need to tick the Include custom .PC configurations tickbox.

Was this article helpful?