Modeling
Guidelines for 3D Modeling
- Generally materials are not double sided aside from specific exceptions (notably for tires) so all meshes should have back faces if the inside is visible
- Every mesh needs a material
- Every mesh needs a proper name
- Names should always be in lower case
- Names may not contain spaces, only
_are allowed (aka snake case), see Final Mesh Splitting for additional details
- If you bake normal maps from high-poly to low-poly, those low-poly meshes should ideally be triangulated, otherwise leave as quads
- Must be a
.blendfile with organized collections and good mesh names - The front of the vehicle needs to face towards Y positive
- Center of the vehicle should be in the center of the grid
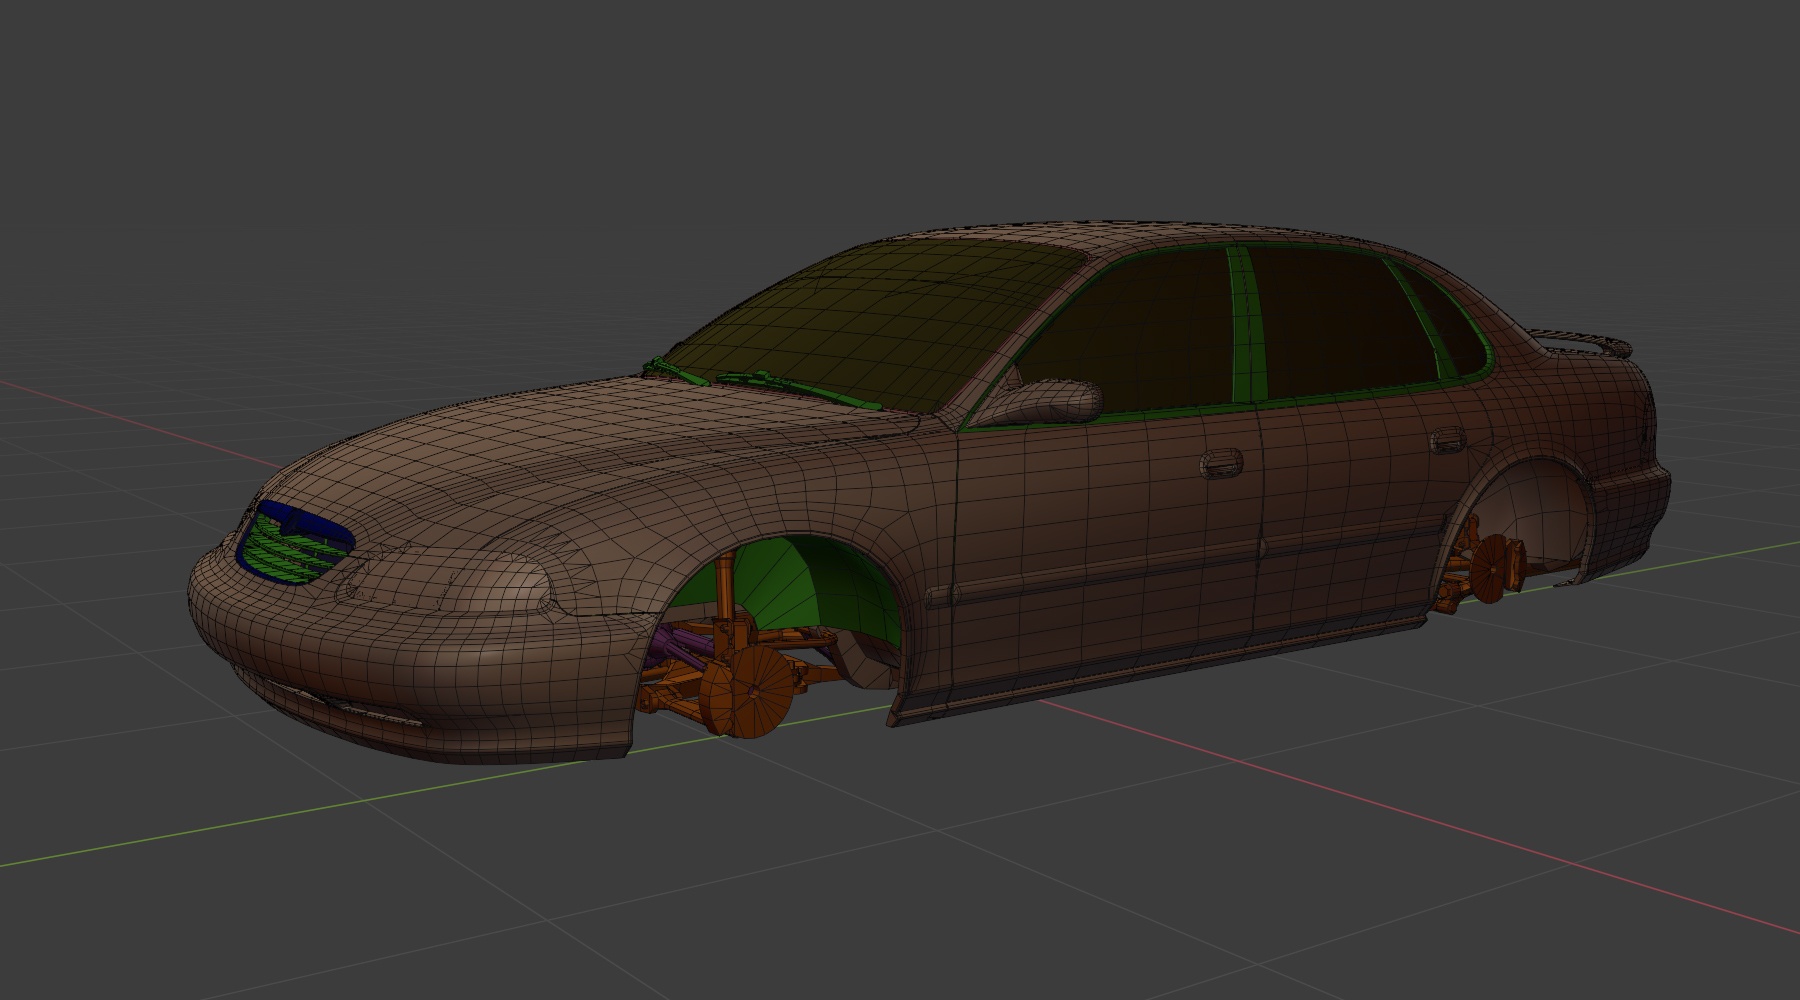
- Z axis: The vehicle should be positioned so that the wheels touch the ground plane at the standard factory ride height (if you wind up making parts that change wheel placement that puts the wheels below or above, that is ok)
- Flex body mesh origins are at
0,0,0, with rotation at 0, and scale at 1 (aka “all transforms applied”) - Prop meshes must have local rotation and origin set for animation
- Parts that are meant to be detachable, separate or have other parts removed from them, need to be standalone objects with no missing faces, and their own object in Blender
- Must check ergonomics with an average human-sized dummy
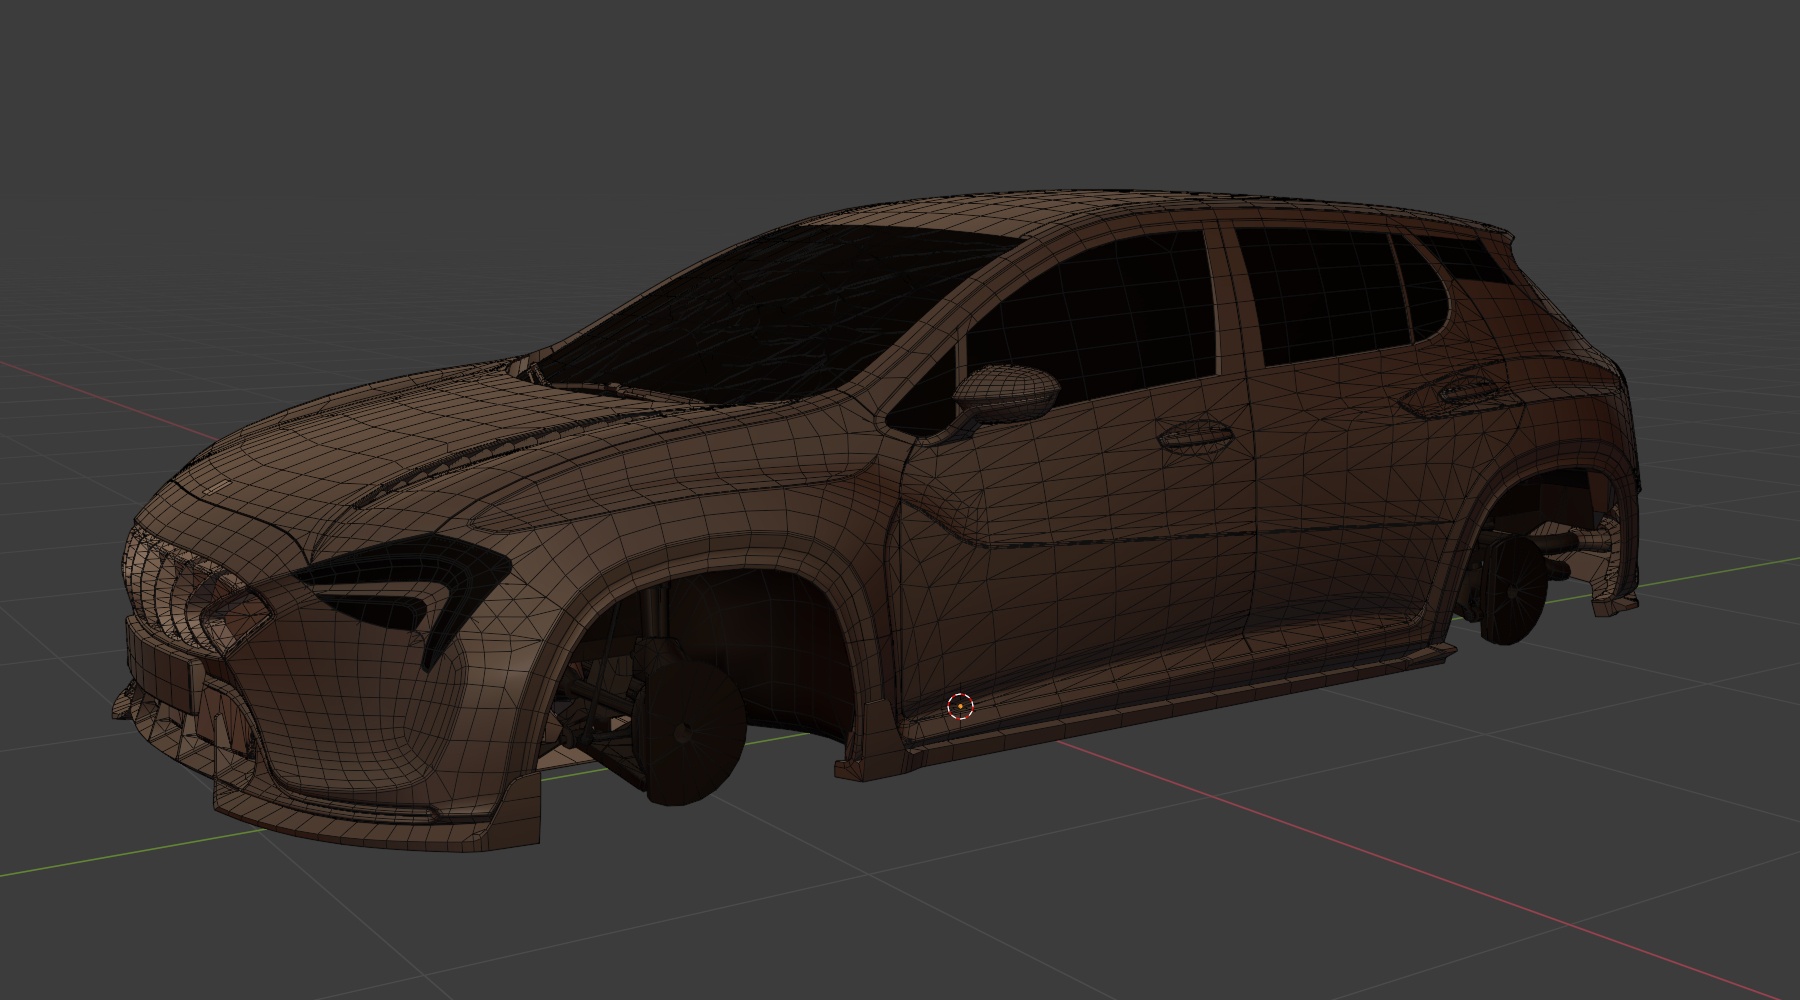
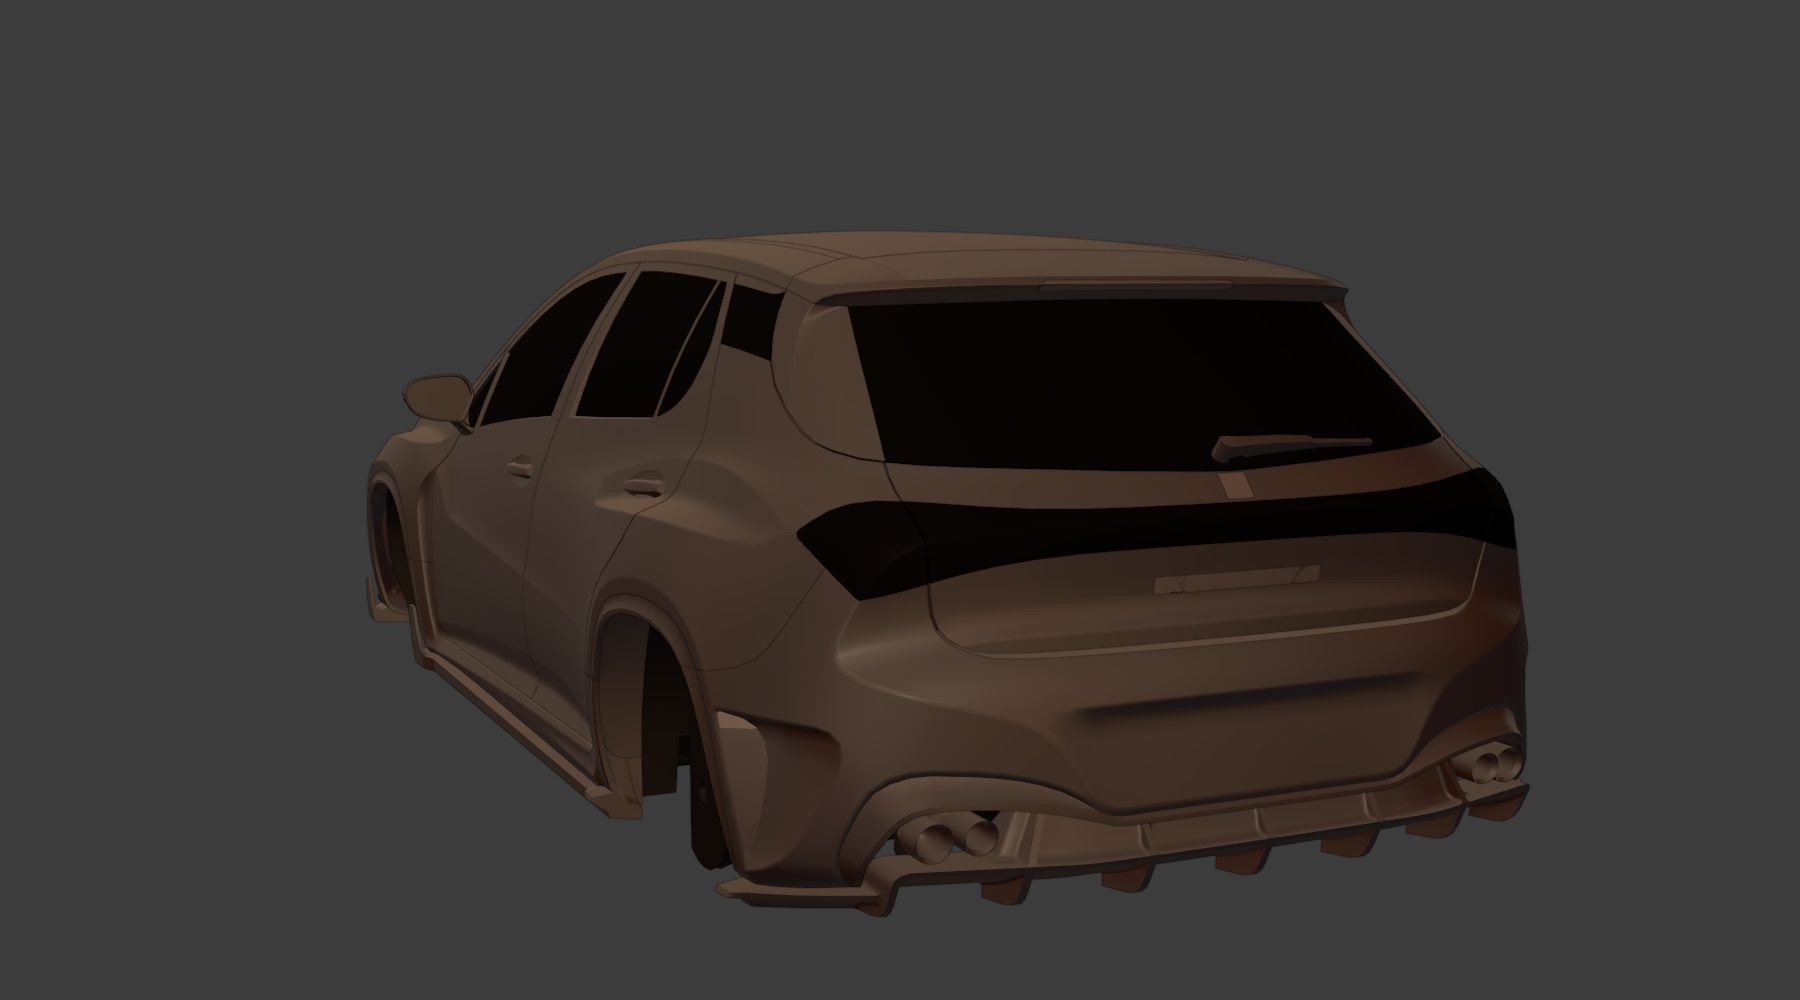
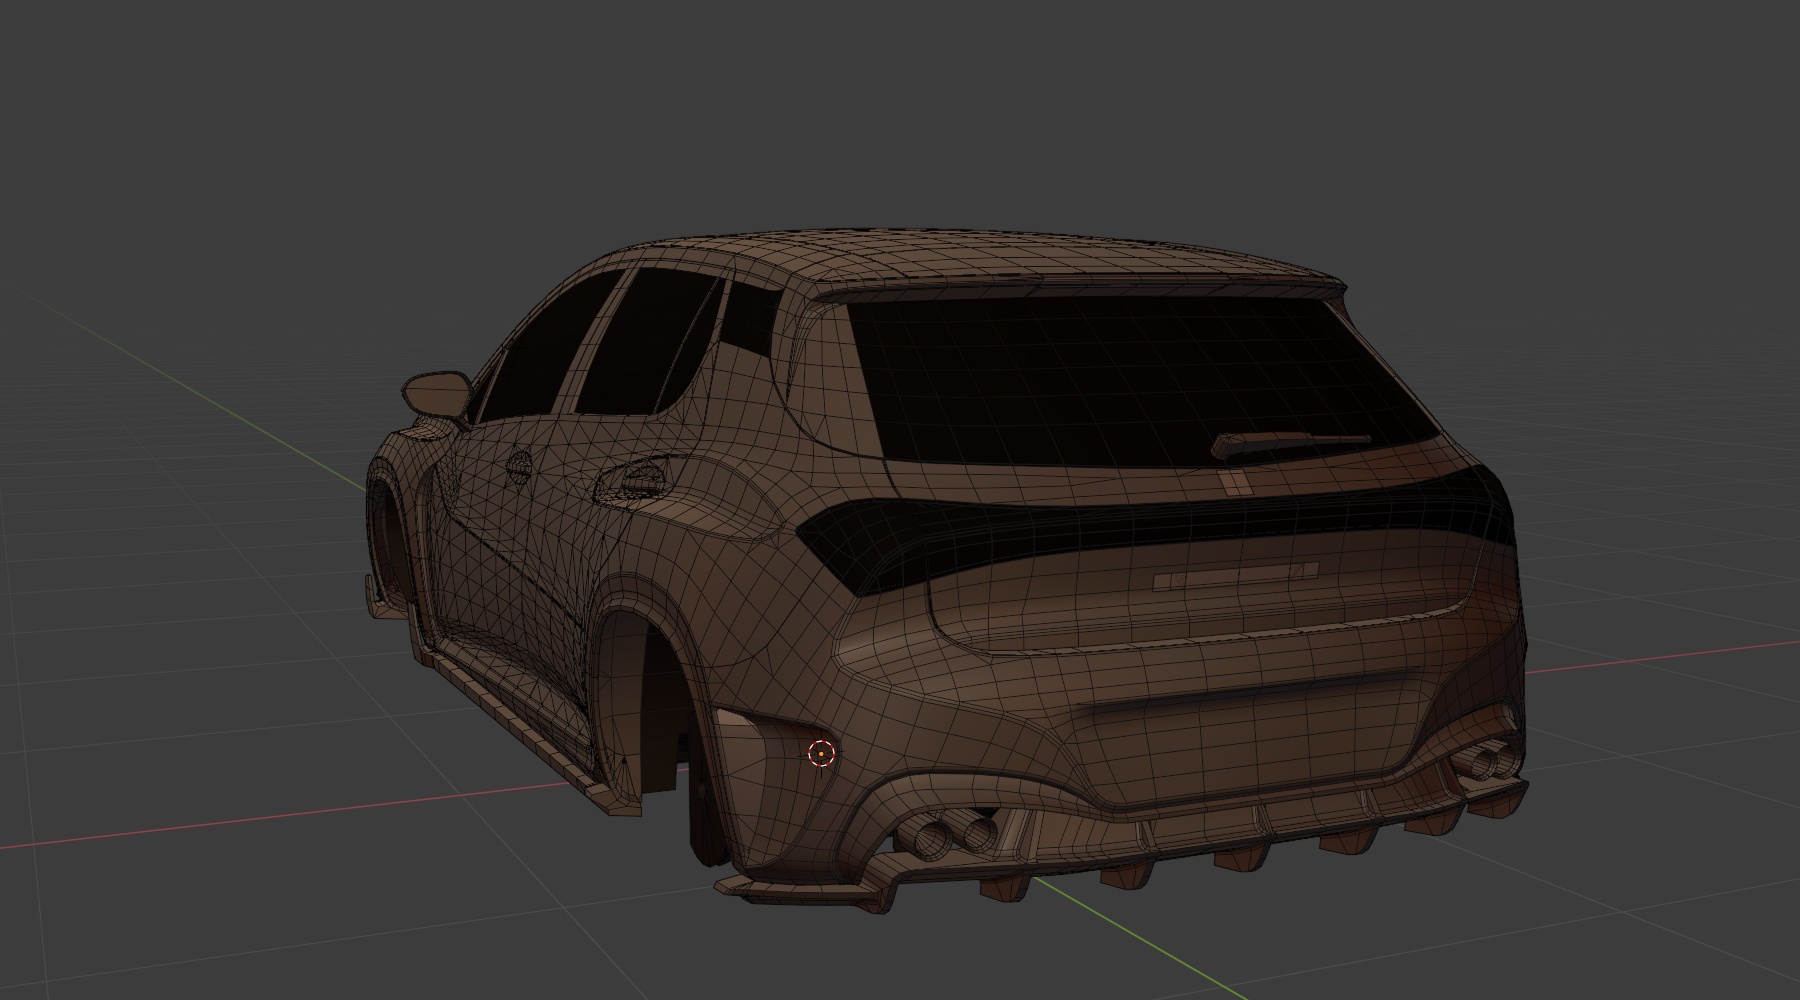
- Must follow poly density shown below
|
|
|
|
|
|
|
|
|
|

|

|

|

|

|
|

|

|

|

|
Tips:
- We don’t use LODs for vehicles
- We don’t use animations or bones (all animations are done in-game)
- We do not have seatbelts
- Weighted normals use is encouraged where it would result in better looking shading (via the weighted normals modifier)
- Inside and outside of panels, or meshes that are close to each other (such as a pickup truck bed liner and pickup truck bed) should have the same topology, otherwise, the inside polygons will poke out on deformation. You can merge bevels if you want.
Triangulation
The game engine needs pre-triangulated meshes. If it recieves quads in a mesh then these will take a small amount of time to triangulate when loaded. (The triangulation will also be essentially random and unable to be controlled, leading to strange results in cases)
In the source, msehes should be triangulatec when baking normals for an object from a high poly, otherwise the meshes should be left untriangulated where possible.
You must have the Triangulate modifier on all objects, with the Keep Normals option enabled

The Triangulate option under Geometry should also be checked on export. This method of triangulation messes up normals, so this is just a catch-all in case you missed any meshes with the modifier. (more in-depth information about export settings is under the Exporting to BeamNG section of this page)
Flexbodies
(aka deformable meshes)
- Need to have the right amount of poly density. Too low it will look chunky in a crash, too high it will start to spike in the crash
- Mesh Origin is at
0,0,0 - Scale should be
1,1,1 - Each part that could come off the vehicle, or move independently should be its own object, so head light, or lower A arm, or spring to the suspension
Props
(animated objects)
- The origin should be at the animation pivot point
- The local axis should match the in game rotation axis
- Scale should be 1,1,1
- These are non-deformable, so no need to add extra topology to account for bending
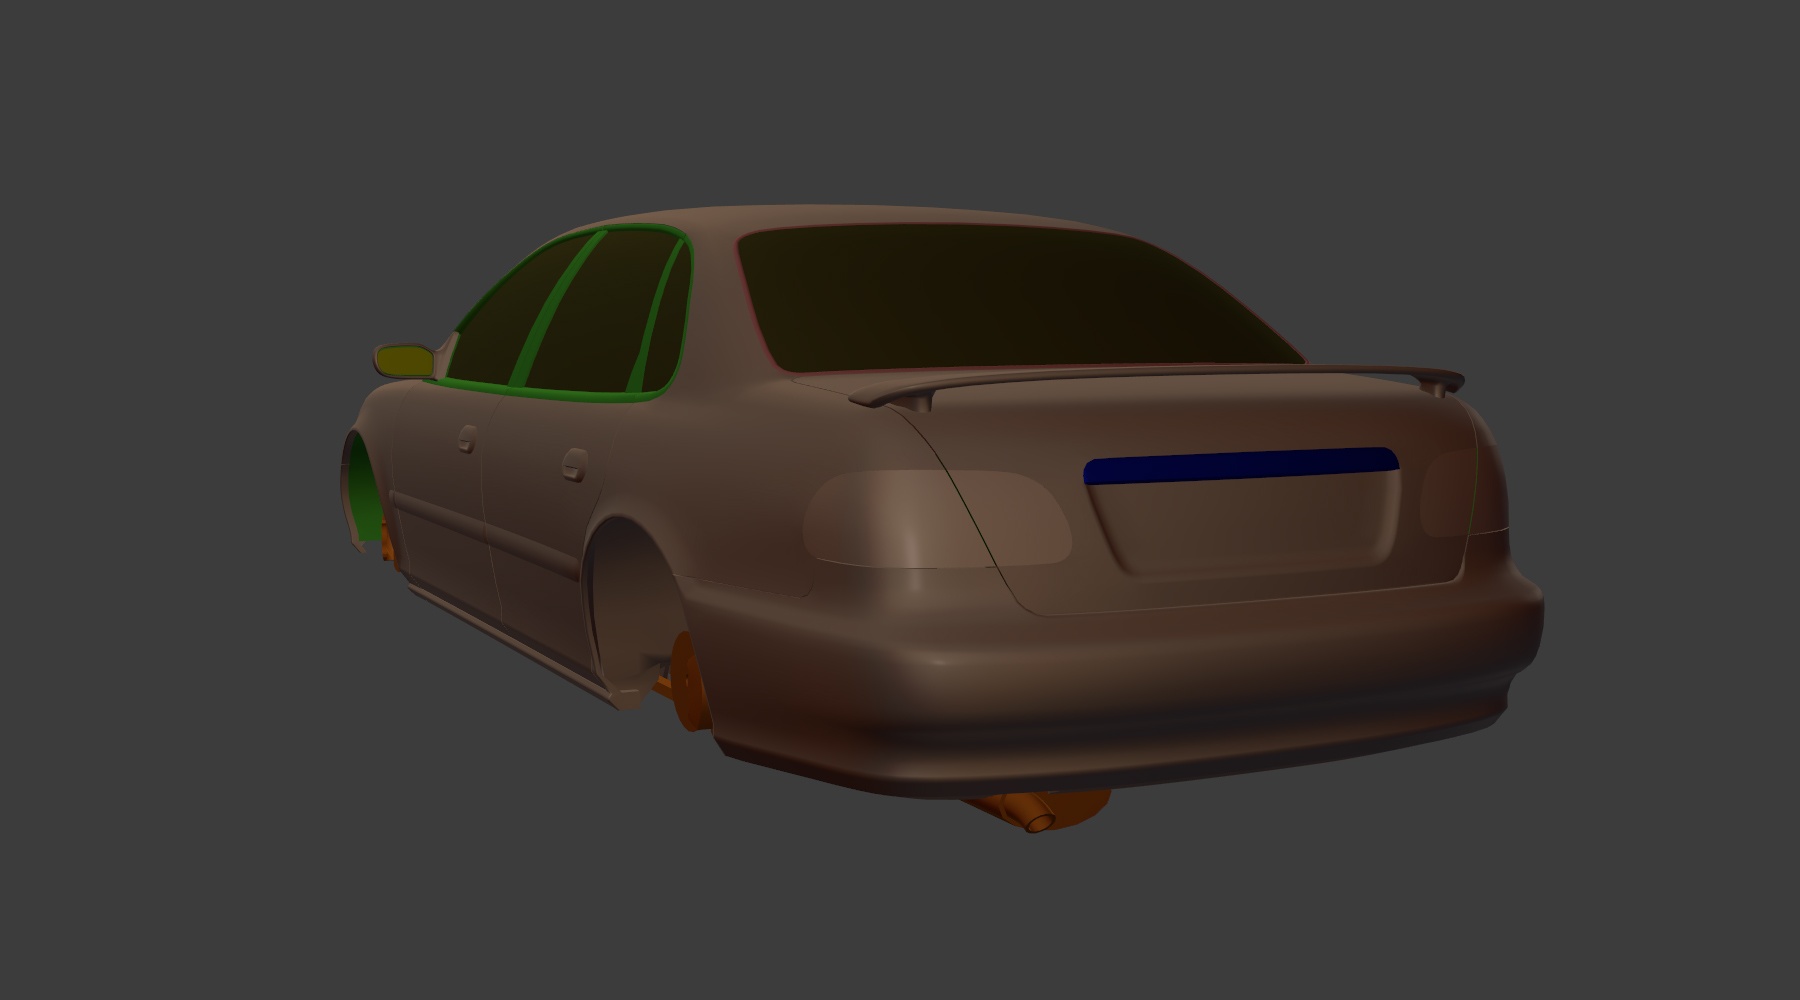
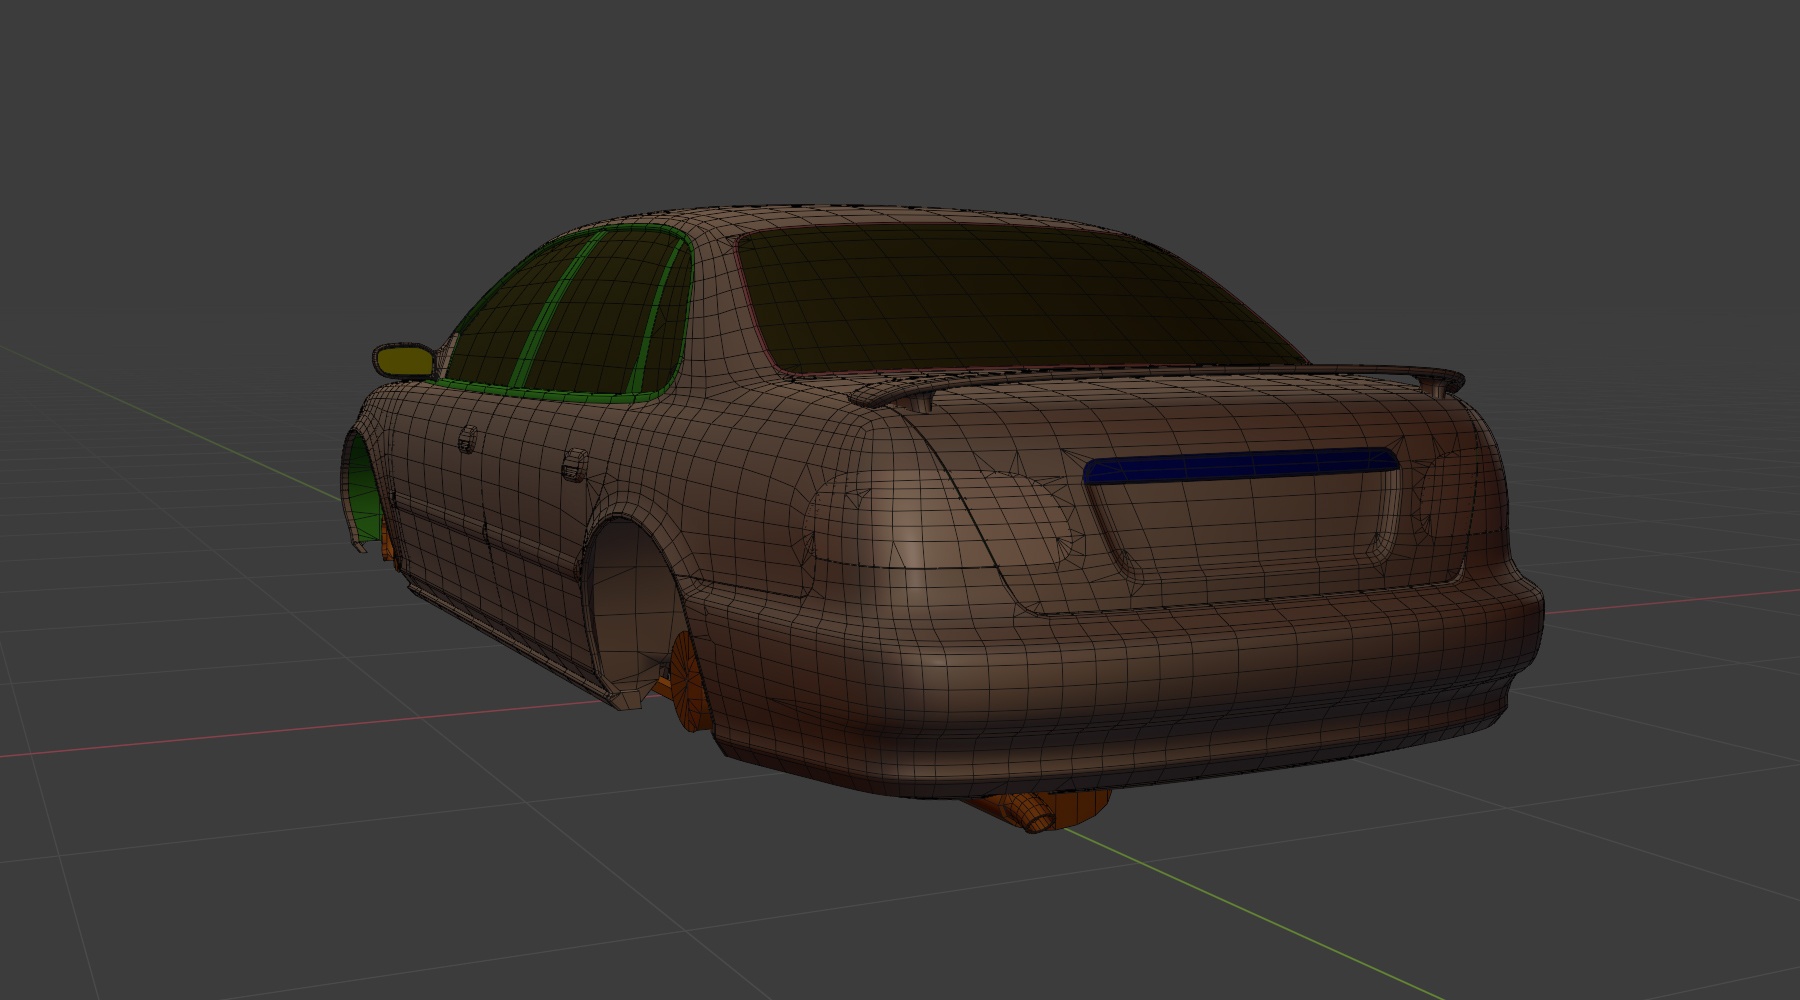
Poly Count
- The poly count should follow the more recent vehicles added to the game. (the Vivace is generally considered to be the best reference, with the Scintilla representing the very upper limit of polycount and detail for a vehicle)
- Ensure edge loops for proper deformation
- Focus higher poly density on visible areas; reduce for hidden parts (e.g. a transmission or steering knuckle would be lower density than a main body or interior panel)
Bevels
- Follow Vivace reference for bevels
- 3D bevels when:
- For body panels - avoid using normal maps for body panels (they create unwanted reflection artifacts if not done correctly)
- Bevel radius is noticeable at default camera distance
- When straightening UV edges would be overly complex
- UV seam + Texture beveled normal map when:
UV maps for these meshes need to be square to avoid jaggies on the bevels- Seam placement makes sense
- Bevel is rarely visible (e.g. underbody components)
- Every texture bevel needs a seam
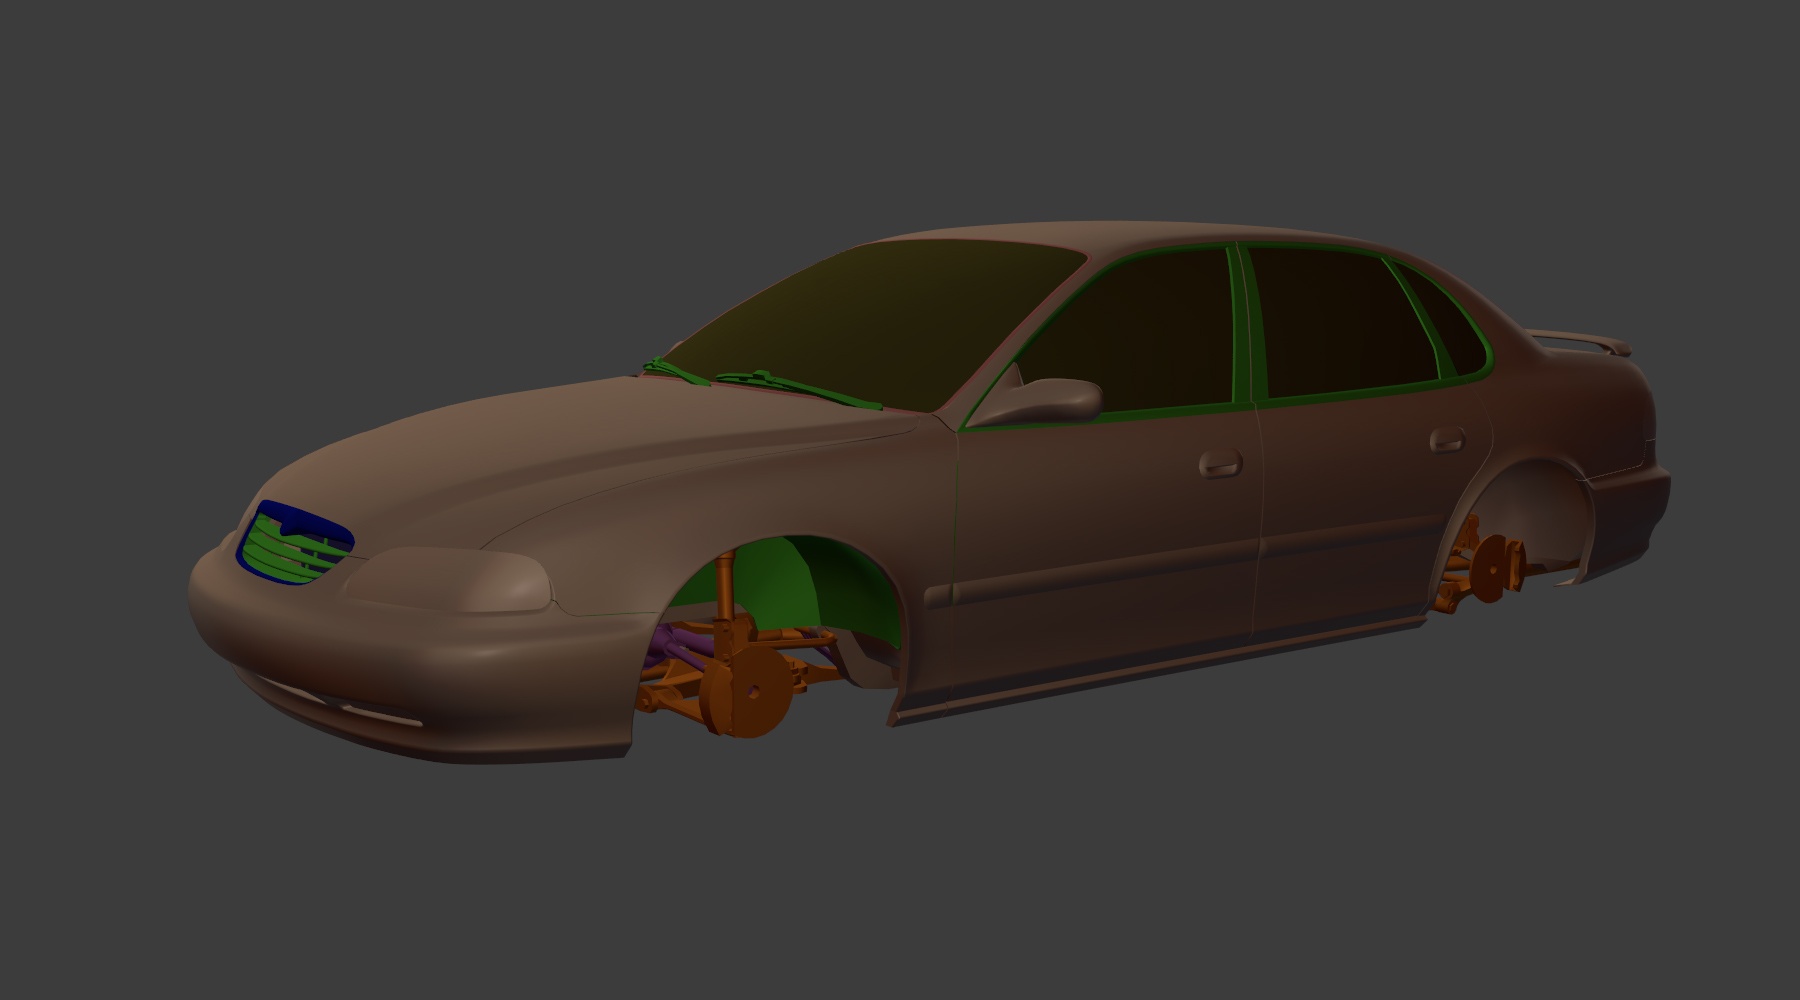
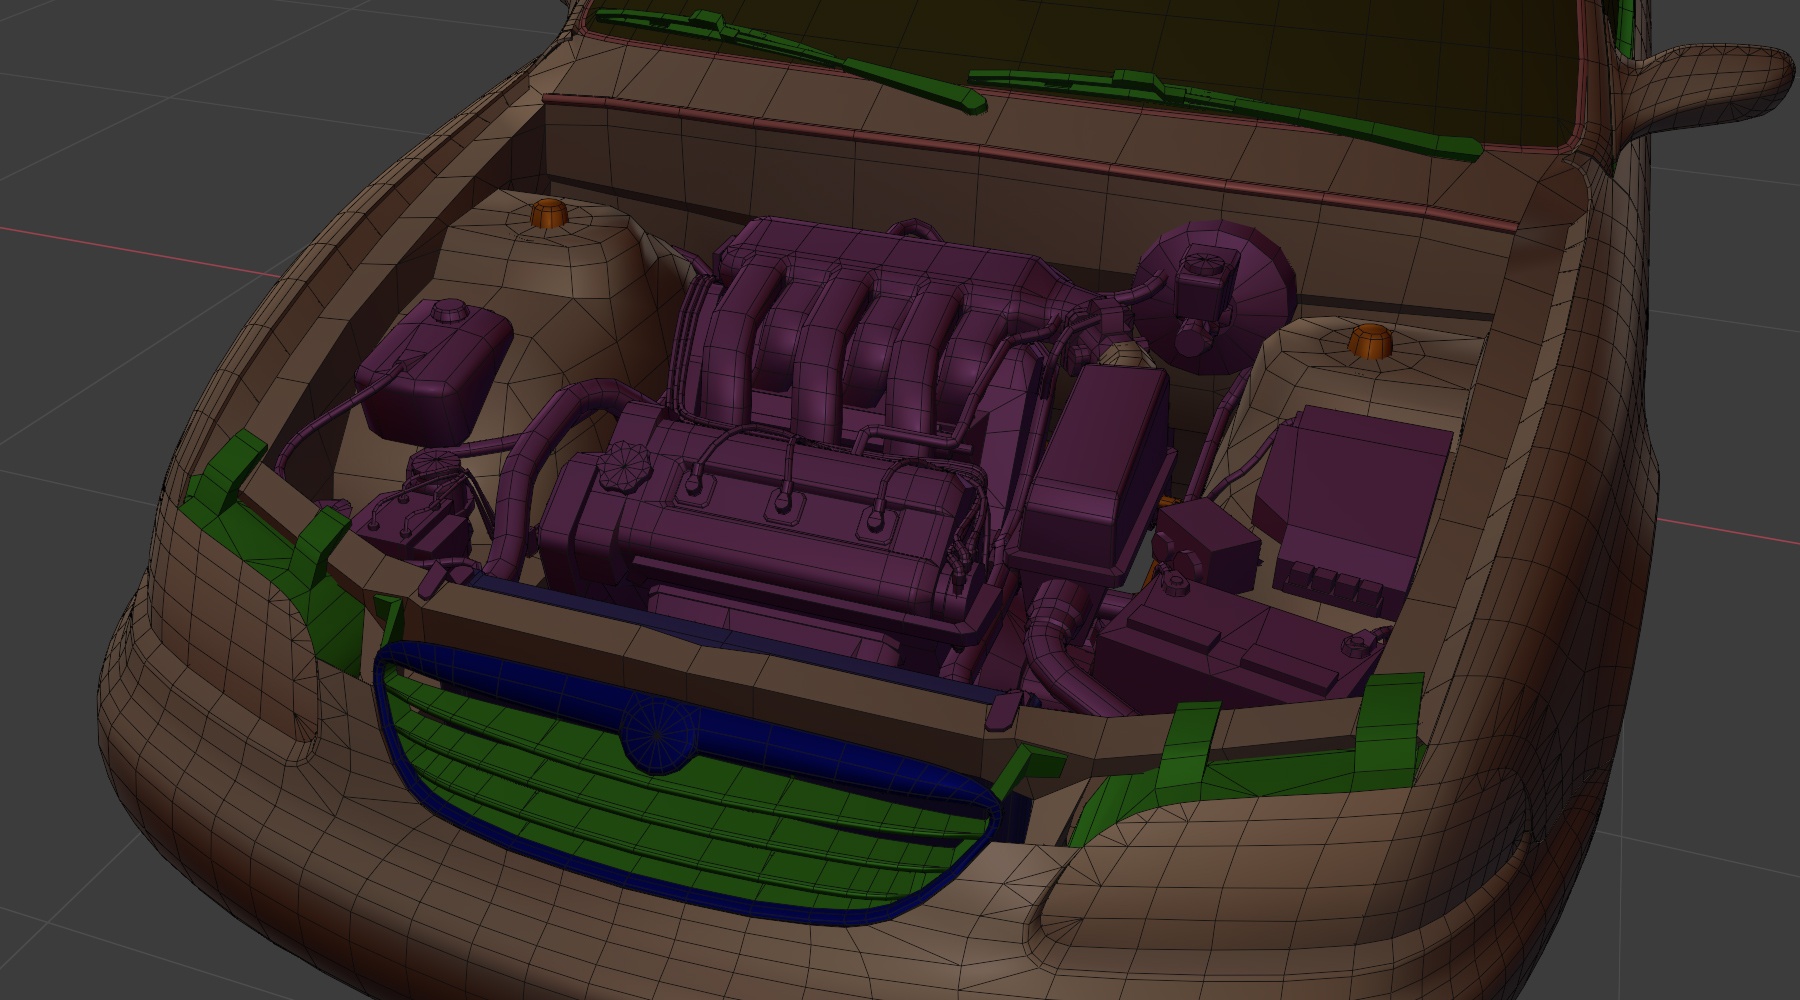
Mechanical Guidelines
- They should have overall correct dimensions
- Take care to understand the internal design to guide modeling - it’s the same principle as using anatomy to guide a sketch of a person
- It should make sense to someone who knows how to replace a radiator in a real life vehicle
- The amount of detail and parts to add, please reference the in game vehicles
Transmissions
- Transmissions should have an accurate scale
- They should mount to the engine according to the alignment of the crankshaft and have a “bell shape” at the mounting point (underneath this is where the flywheel or torque converter would be)
- If the car has a 4WD option, an additional transfer case mesh is required (along with more driveshafts)
Driveshafts
- Standard cars:
- Single-mesh driveshaft with universal joint details at both ends
- Specialized vehicles (e.g. rock crawlers):
- Use 4-part driveshafts (knuckles at each end and two telescoping shaft meshes)
- CV halfshafts (FWD cars):
- Should include cup ends and accordion boots
- Can be a single mesh
- Animation:
- Driveshafts = animated (set as props)
- CV halfshafts = no animation (since rotation is not visible)
Suspension and Steering
Please model the suspension with wheels at typical ride height
Suspension Accuracy
- Accuracy in suspension pivot points is critical
- The meshes must follow the JBeam suspension points
- This is a complex task:
- Block out the shapes based on references
- Our Suspension Specialist will position the 3D points precisely
Important Considerations
- Make sure there is room for movement for:
- Wheels and tires
- Suspension articulation
- Front-wheel steering without clipping
Joints
- Model joints simply but correctly, distinguishing:
- Ball-socket joints
- Pin joints
- Ensure proper space for articulation
Shock Absorbers / Coilovers
- Separate:
- Shaft/upper mount
- Body/lower mount
- Spring
Interior Meshes
- Animated interior meshes are considered Props (except the shifter)
- Mesh density should be higher for front-facing areas and reduced for rear and floor areas
- Use high-poly baking for:
- Seats
- Air vents
- Small details (bevels on panel edges, etc.)

|

|

|

|

|

|

|

|
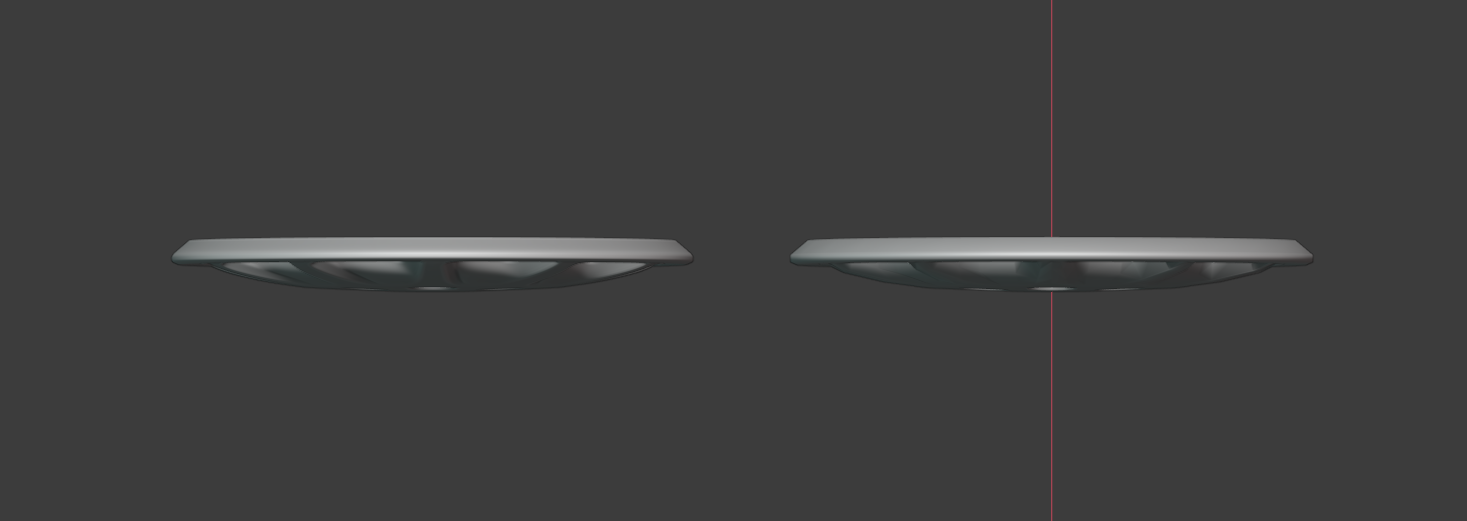
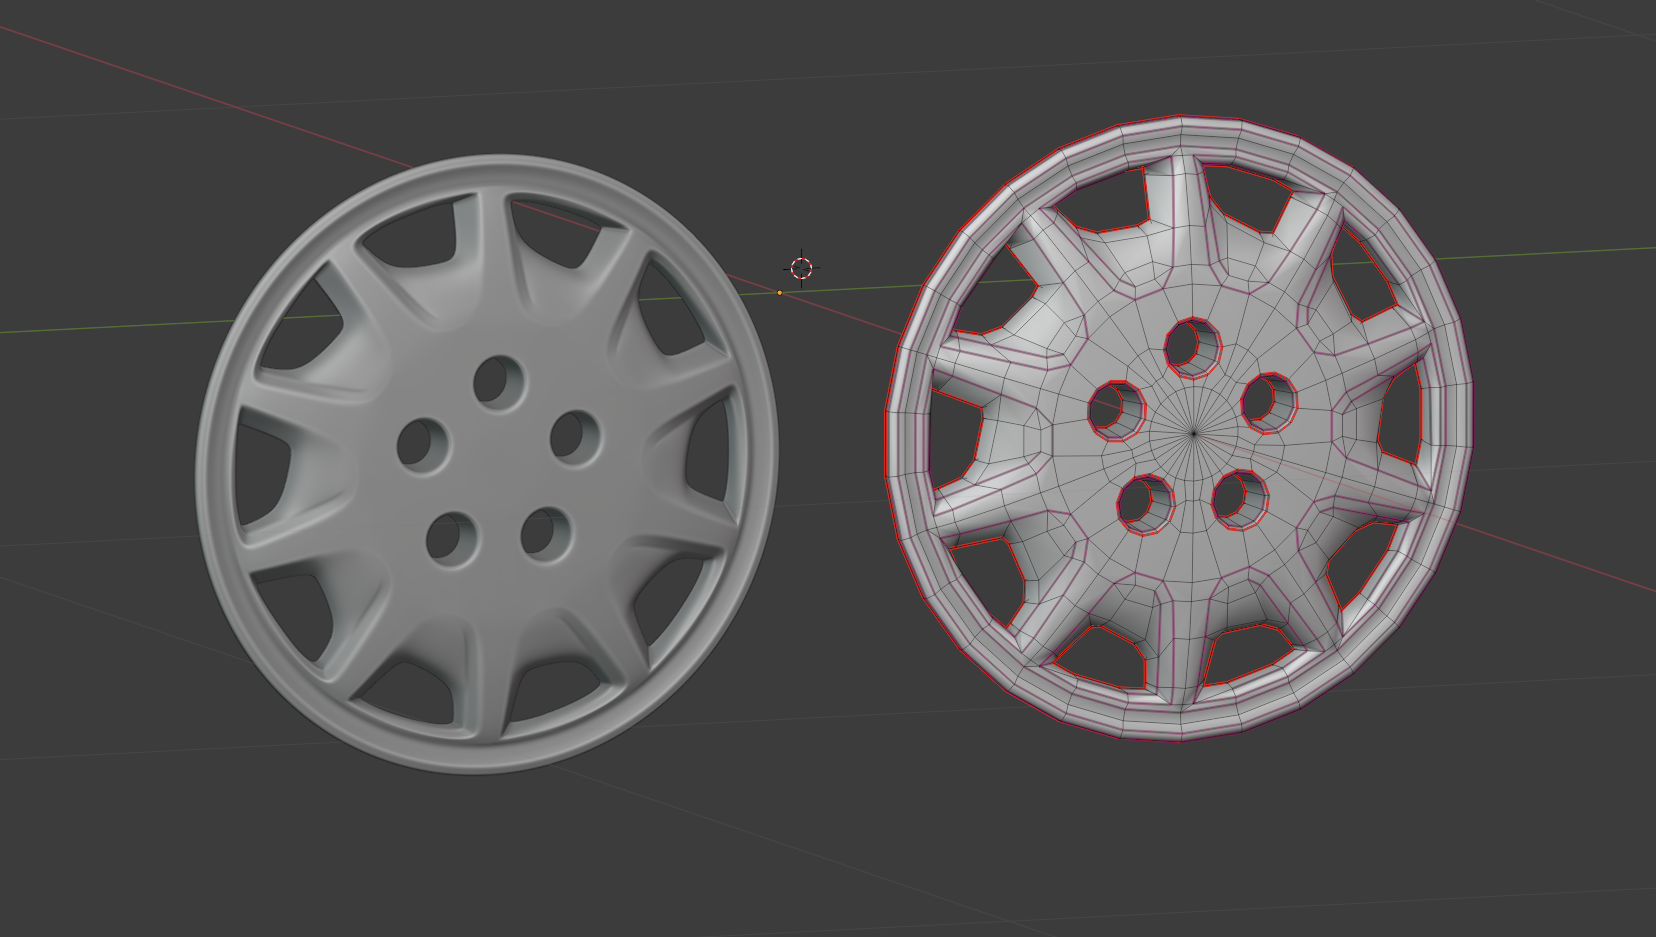
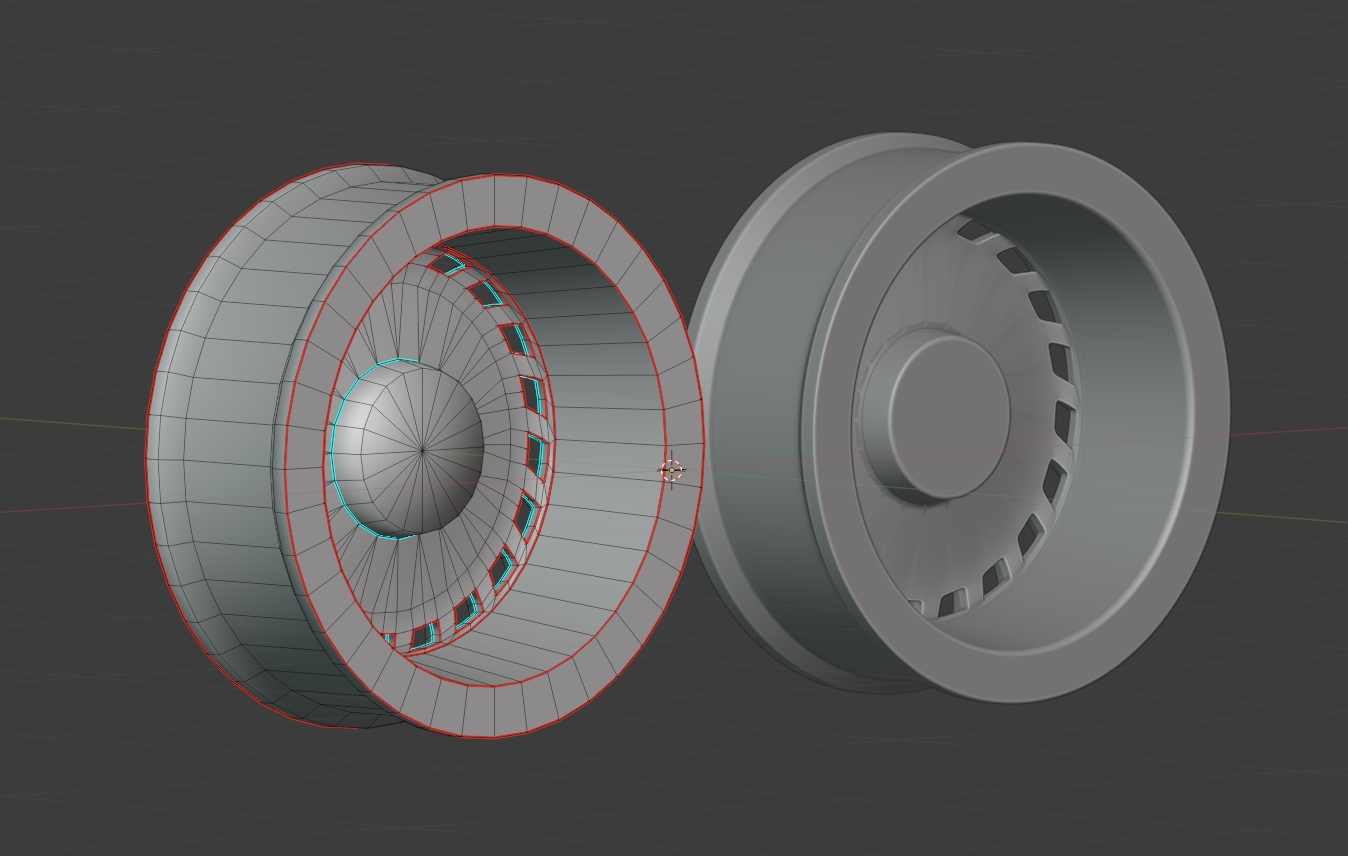
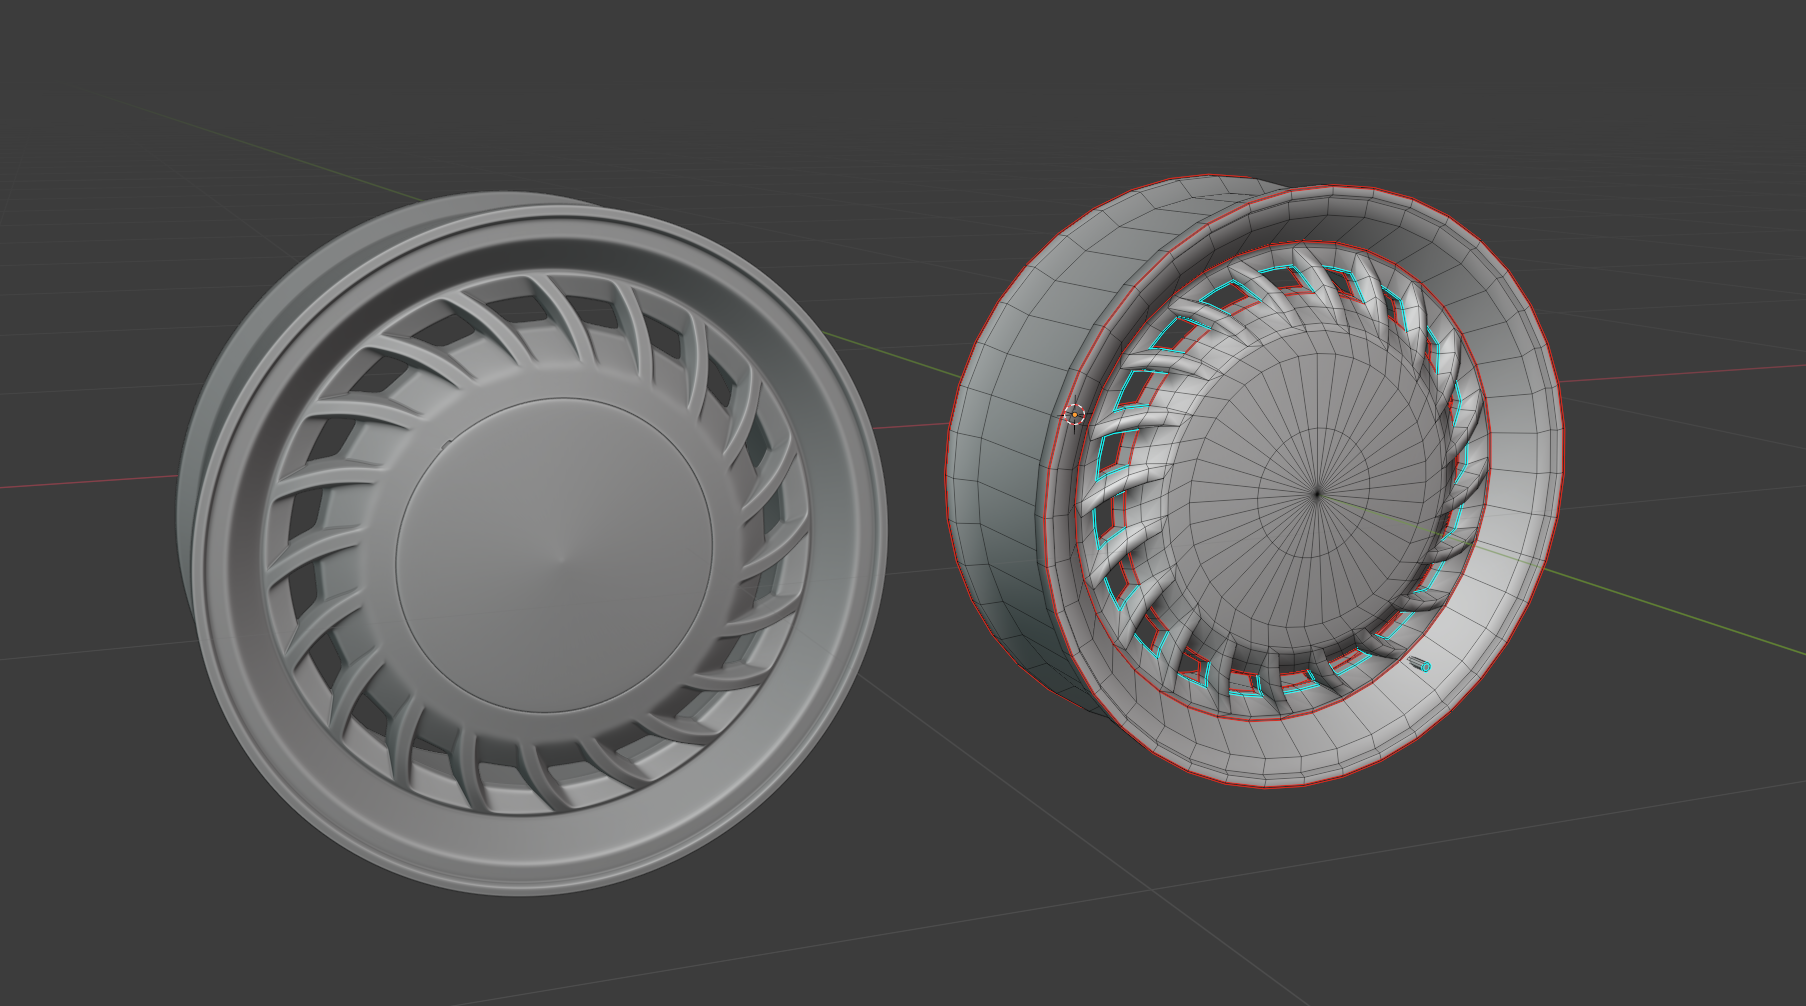
Wheels and Tires
- Must be baked from High Poly to Low Poly models
- Origin must be set to the wheel’s rotation axis (centered in the x-axis, equally distant from either side of the rim/tire mounting bead)
- For 16" wheels, the recommended number of outer loop segments would be around 35-36 (this is based on what fits the number of spokes the wheel design has and is flexible, so should only be used as a rough guide for poly density)
- The segment count should be scaled based on rim size, so larger wheels will have an appropriately larger number of segments (always remember that wheels will normally be used 4 times on a vehicle and can be one of the easiest sources of small triangles that take more GPU power to render - make sure their polycounts are still kept reasonable)


This example is from the “Soliad Storm” Hubcaps. Designed to sit on top, with the holes aligned to match the lug nuts of given steel wheels.
Another example of typical roadgoing rims, the “Soliad Tornado” rims. Keep in mind of adding a bit of simple outer-curvature and mounting face for the hub.
Common Meshes
- We have a dedicated folder for common meshes and textures
- These assets load into the game regardless of the selected vehicle
- Meshes can freely use these textures however needed, but the textures themselves cannot be overwritten as many different pieces of content could be using them in different ways
- It is advised not to use a common material for only small details, as loading the entire texture set for something unimportant would not be a smart use of limited memory resources
- It is advised to only add content to the common folder where necessary, as load times will increase with the amount of content in common (a set of wheels would make sense in common as they can be equipped to all vehicles then, but an entire car’s worth of content would negatively impact load times more than it would be worth)
When to Split an Object
- If the part can detach from the vehicle
- If the object needs to move or rotate (such as leaf spring shackles)
Destructibility
- These should separate without creating holes in the mesh.
- Separation areas must have proper textures.
Mesh Lights
- Lights must be fully 3D, including:
- A lens
- Chrome material behind the light element
Exporting to BeamNG
Export Setup
- It is advised to keep source blend files organised in collections, with the top overarching ones being an export collection and a no exporting collection.
- Export collections should be named as the filepath and name of the .dae it is intended to be exported to
To export a .dae
- Make sure only the export collection you are using is active, with every other collection inactive
- Make sure every mesh inside only the export collection is unhidden
- Ensure only the correct export collection and the meshes inside it are selected (avoid conflicts with other
.daefiles) - Use DAE (Collada) Export and save in the correct folder, as indicated in the collection name
- Check
Selection Onlyunder Main and ‘Triangulate’ under Geometry
Export Properties
TAB SETTINGS:
- Main Tab
- Ensure
Selection Onlyis checked
- Ensure
- Geometry Tab
Triangulate on exportshould be ON- Optionally apply modifiers (depends on how the
.blendfile is structured)
- Armature Tab
- Ensure everything is unselected
- Animation Tab
- Uncheck
Include Animations(avoids animation keyframe issues)
- Uncheck
- Extra Tab
- Leave settings as default
If you export anything but tris, either the exporter or importer will triangulate, and maybe not in the way you intend it to (like the other way round or so).
The engine itself only supports tris and only ever has.
So the safest approach is to work with tris.
Was this article helpful?