Physically Based Lighting - Introduction
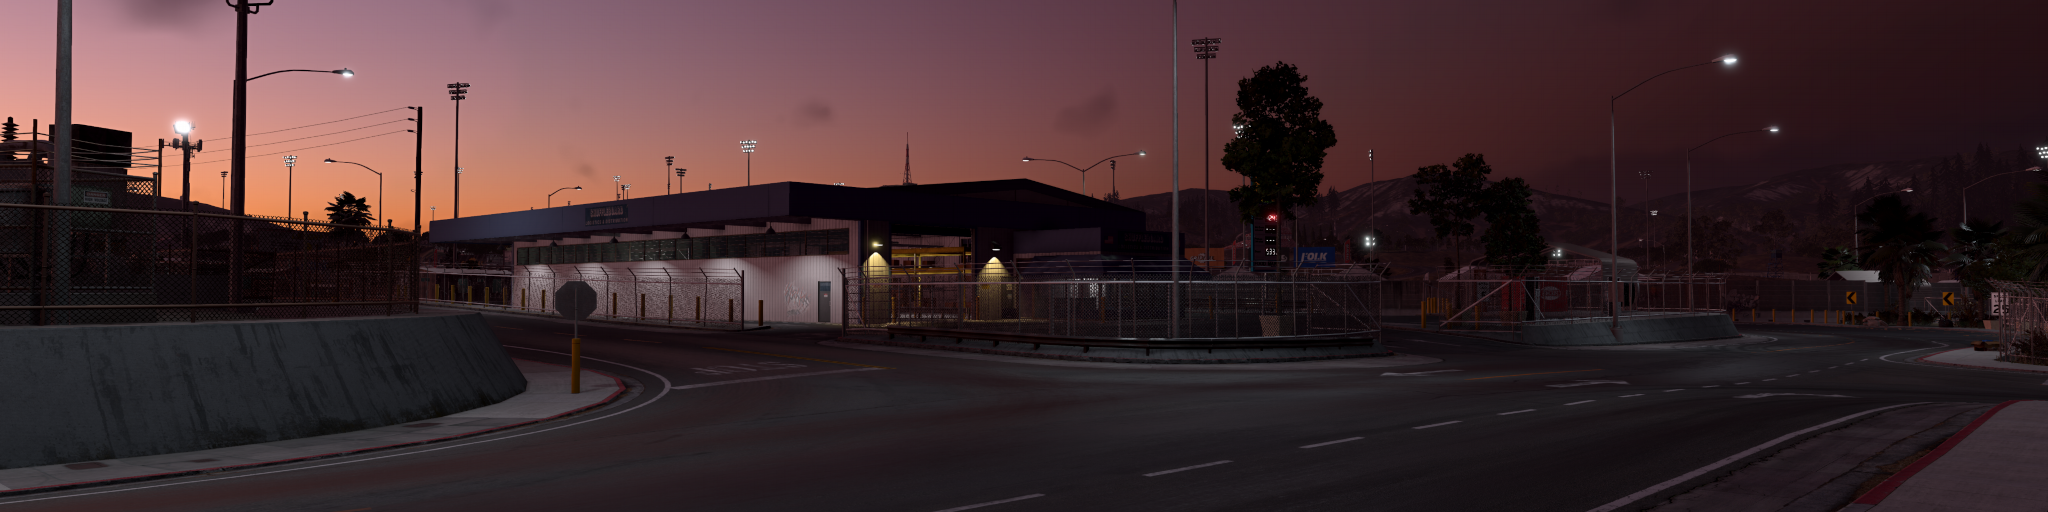
Physically Based Lighting was introduced in version 0.39 and replaces the old lighting model. BeamNG now uses physical light units based on real measurements, such as lumens and watts from light bulb specifications and EV100 exposure values from photography.
Use real-world references when tuning lights. Vehicle headlights, street lamps, emissive materials, exposure, and tone mapping now share the same physical basis, which reduces the need for arbitrary brightness values.
Units of light intensity
Candela (cd)
The default unit for spot lights in the engine and the base unit of luminous intensity. It describes how much light is emitted in a specific direction. For reference, a common wax candle emits about 1 candela. As a practical guideline, a light set to 1000 cd will produce approximately 1000 lux at a distance of one meter (assuming it is directed straight at the surface).
Lumen (lm)
The default unit for point lights. It measures luminous flux, or the total amount of light emitted in all directions. This value does not depend on the size of the light source, but increasing the emitting surface area will spread that light out more, resulting in softer and less intense highlights.
Watt (W)
Watts measure radiant power rather than perceived brightness. The World Editor uses the 683 lumens per watt convention based on the SI maximum luminous efficacy at 555 nm. This convention is also used by glTF PBR lighting conversion and is compatible with Blender. For a point light, 1 W is therefore equivalent to 683 lm.
For spot lights, power is defined as the power the light would emit if it were not limited by the cone, matching Blender and glTF interchange. It is converted to isotropic luminous intensity using candela = watts x 683 / (4 x pi), so 1 W is approximately 54.35 cd regardless of cone angle.
These are radiometric watts, not the electrical power consumed by a bulb or fixture. Real lights have color- and technology-dependent luminous efficacy that is usually much lower than 683 lm/W.
Lux (lx)
A unit of illuminance, describing how much light falls onto a surface. It is used for large scale light sources like the sun and moon. On a clear day, sunlight can reach around 100 000 lux, while moonlight is typically around 1 lux.
Nits (candela per square meter)
A unit of luminance, used by emissive materials in the engine. It represents how bright a surface appears when emitting light. This is commonly used for screens, light panels, and other glowing surfaces.
Exposure Value (EV)
Exposure Value represents a combination of camera shutter speed and aperture (f number). The engine supports EV100, which assumes a standard ISO 100 sensitivity and matches common photography references.
Brightness
A legacy fallback unit used by BeamNG up to version 0.38. It exists for compatibility with older content, but new content should use the physical intensity field instead.
As a reference, a value of 1 brightness corresponds to approximately 5000 cd for spot lights, and about 62,832 lumens for point lights.
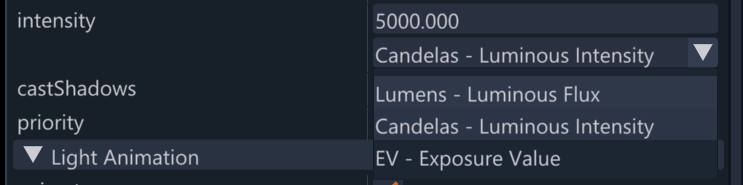
radius on point lights and range on spot lights no longer define the falloff shape, they only limit (clamp) the light’s effective range.PointLight intensity is stored in lumens, while SpotLight intensity is stored in candelas.Lighting references
Natural light sources
Artificial light sources
Estimating light intensity at distance
To estimate spotlight intensity, convert the desired surface illumination in lux to candelas.
For a spotlight aimed directly at a surface:
candela = lux x distance²
or:
lux = candela / distance²
For example, if you want around 3 lux on a small street surface at 10 meters, the light needs roughly:
3 x 10² = 300 cd
This is a simplified estimate and assumes the light is aimed directly at the surface, without cookies, fog, occlusion, or grazing-angle losses.
Large outdoor lighting examples
Large areas such as race tracks, stadiums, industrial yards, ports, and pit lanes need a different approach than small street lights. The light source is often far from the target surface, so required candela values can be high even when the target lux value is reasonable.
Use the table below as a starting point for spot lights. The values are approximate and assume the light is aimed directly at the target area. Real results depend on height, angle, beam width, cookies, fog, surface brightness, exposure, and overlap from nearby fixtures.
For stadium and race track lighting, avoid solving the whole scene with one extremely strong light. Build the setup from multiple aimed fixtures:
- Start with the target driving or play surface, not the light model.
- Aim each spotlight at a specific zone: braking zone, apex, straight, pit entry, grandstand, or field sector.
- Use overlapping beams so fast-moving vehicles do not pass through alternating bright and dark bands.
- Keep shadows for key lights only. Many high-intensity shadowed lights can become expensive quickly.
- Use cookies or IES profiles when the fixture needs a shaped beam or cutoff.
- Tune exposure before increasing intensity. Incorrect exposure can make physically reasonable stadium lights appear too dim or too harsh.
300 x 40² = 480 000 cd before losses. The same 300 lux target at 20 m needs only 120 000 cd.Typical lighting levels
Level night lighting
Once you have tuned your lights using physical units, you can set them up to trigger automatically based on the level’s time of day.
The recommended workflow is to author the light fixtures with their physical intensity first to ensure they look correct in the editor, and then mark them for automatic night control. This ensures that any overrides (such as dayIntensity or nightIntensity) remain consistent with the physical basis described in this guide.
For a detailed implementation guide on configuring street lamps, glowing meshes, and setting up the night-lighting time window, see Night Lighting .
Color temperatures
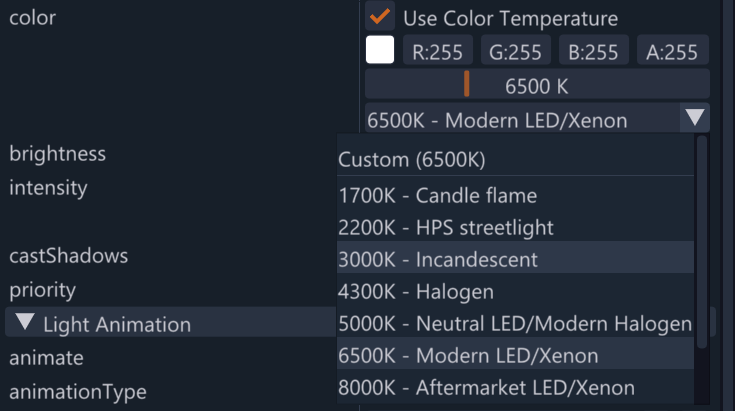
The World Editor color temperature control converts Kelvin values to linear RGB using the Planckian locus, then stores the resulting color on the light. Use this for the base color of real fixtures instead of hand-picking arbitrary RGB values.
The control also provides fixture-style presets and filament types. Kelvin defines the base white point, while the filament type adds the characteristic tint of the lamp technology:
- Blackbody / pure CCT for neutral physical color temperature.
- Tungsten filament and Quartz halogen for warm incandescent and halogen fixtures.
- Warm phosphor LED, Cool phosphor LED, Phosphor LED, and Xenon HID for modern vehicle and street-light sources.
- Fluorescent tube, Sodium vapor, Mercury vapor, and Metal halide for common level-lighting fixtures.
For filament types that age noticeably, the Degradation slider shifts the tint toward the expected worn or failed color. Use small values for subtle variation across repeated fixtures, and larger values only when the lamp should visibly look aged, mismatched, or failing.
Camera exposure values
Emissive materials
255 texels use the full nits value, while darker texels scale it down. Keep these values conservative: small blinkers, side markers, and tail lights may need the upper end of their range for daytime readability, but should stay below headlight lens peaks. Use physical light sources for actual illumination, then tune lens area, texture brightness, exposure, bloom, and beam pattern in-game.Light cookie textures
Light cookies shape and mask the output of a light. Use them for projected patterns such as headlight beams, window shadows, or gobo effects.
White areas of the texture allow full light contribution, while darker areas reduce or block it. For example, a 50% gray value results in roughly 50% of the light’s intensity being visible.
A cookie does not change the configured intensity value. White keeps the full set intensity, darker values attenuate it, and a cookie can never brighten the light beyond its set value.
For best results, use cookies to define light shape (for example, vehicle headlight patterns) while keeping intensity set using proper physical units.
IES light profiles
IES files are photometric light profiles used by real-world lighting manufacturers. They describe how a lamp or fixture distributes light in different directions, usually using measured candela values.
Instead of emitting light in a simple circular cone, an IES profile can represent the actual beam shape of a real fixture. Use it for lights such as:
- Street lamps
- Wall-mounted lights
- Industrial lamps
- Architectural lighting
- Vehicle lights with complex beam patterns
Real lights rarely emit perfectly uniform light. IES profiles capture asymmetric shapes, hot spots, cutoffs, falloff patterns, and other details caused by the reflector, lens, housing, or bulb placement.
In BeamNG, IES files can be converted into light cookie textures. The cookie texture stores the light distribution pattern, while the light itself still uses physical intensity values such as candela or lumens.
Bundled IES profiles
The game ships several ready-made IES profiles in art/special/ies/, each with a matching generated .cookie.json:
400W_sodiumand400W_streetlight- high-power street lamps282W_lightand80W_light- general area / wall fixturestunnel_light- tunnel lighting
IES Cookie Importer (Experimental)
IES profiles can be imported using the IES Cookie Importer tool in the World Editor.
The importer reads the .ies file, extracts photometric information, and generates:
- A grayscale cookie texture, usually saved as
*.color.png - A matching
.cookie.jsonmetadata file
The generated cookie texture can then be assigned to a light’s cookie field.
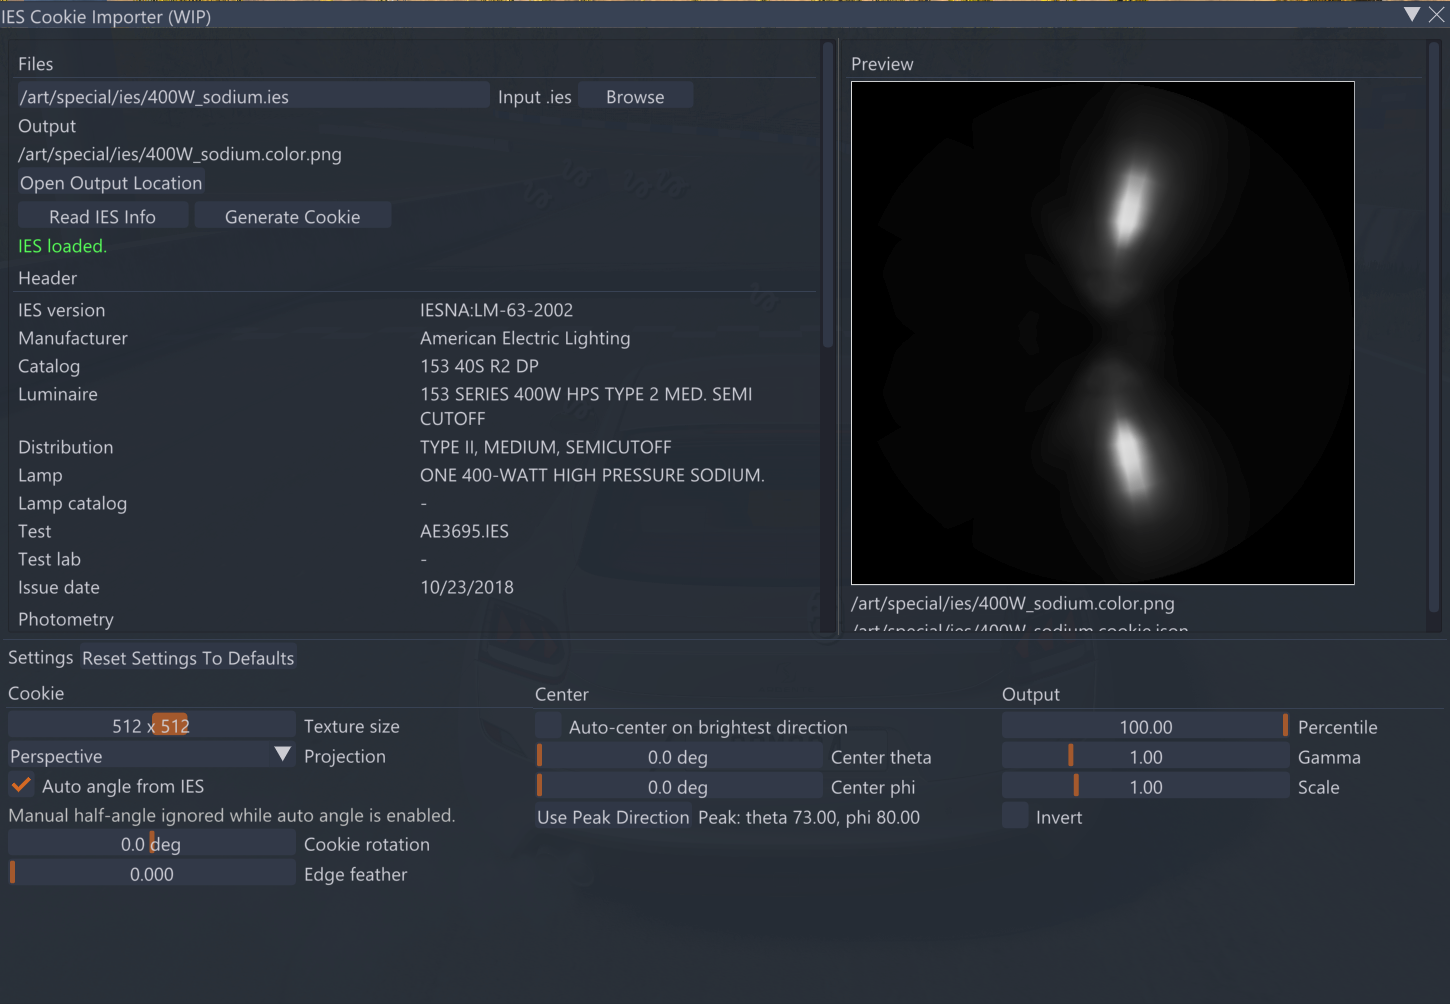
The metadata file can store useful information extracted from the IES file, such as:
- Peak candela
- Suggested spotlight angle
- Lumens
- Input watts
- Color temperature, when available
- Manufacturer and lamp information
When a cookie has matching metadata, the editor can apply the IES data to the selected light using Apply IES if available. This can automatically set suitable intensity, angle, and color temperature values when the data is present.
Import settings
The importer provides several options for controlling how the IES profile is converted into a cookie texture.
| Setting | Description |
|---|---|
| Texture size | Resolution of the generated cookie texture. Higher values preserve more detail but use more memory. |
| Projection | Controls how angular data is projected into the texture. Perspective is usually best for spotlight cookies. |
| Auto angle from IES | Automatically uses the IES vertical angle range to determine the light cone. |
| Half-angle | Manual cone half-angle used when auto angle is disabled. The final spotlight outer angle is twice this value. |
| Cookie rotation | Rotates the generated cookie texture. Useful when the beam pattern needs to be aligned with the fixture. |
| Edge feather | Softens the edge of the cookie to avoid harsh circular cutoffs. |
| Auto-center on brightest direction | Centers the cookie around the brightest direction in the IES profile. |
| Center theta / phi | Manual angular center controls used when auto-center is disabled. |
| Percentile | Controls normalization of the generated texture. Lower values can prevent a single bright pixel from making the rest of the cookie too dark. |
| Gamma | Applies gamma adjustment to the generated image. 1.0 keeps the output linear. |
| Scale | Multiplies the final cookie brightness. |
| Invert | Inverts the cookie output. Usually not needed for normal light cookies. |
Recommended workflow
A typical IES workflow:
- Download or create an
.iesprofile for the fixture you want to recreate. - Open the IES Cookie Importer in the World Editor.
- Select the input
.iesfile. - Review the photometric information, especially peak candela, lumens, and beam direction.
- Generate the cookie texture.
- Assign the generated cookie to a
SpotLight. - Use Apply IES if available to apply metadata to the light.
- Fine-tune position, rotation, and exposure in the scene.
For best results, use IES profiles together with physically correct intensity values and realistic color temperature.
Lighting workflow
A simple approach to setting up physically based lighting:
- Start by setting a correct exposure. Use manual EV100 for reference checks, then return to Auto Exposure for gameplay evaluation.
- Use real world reference values (lux, lumens, candelas) for your lights.
- Set light color using realistic temperature (Kelvin), not arbitrary RGB values.
- Fine-tune only after the base values feel correct across time of day, weather, interiors, and exterior transitions.
This avoids compensating errors, where incorrect exposure or intensity leads to unrealistic results.
Emissive workflow
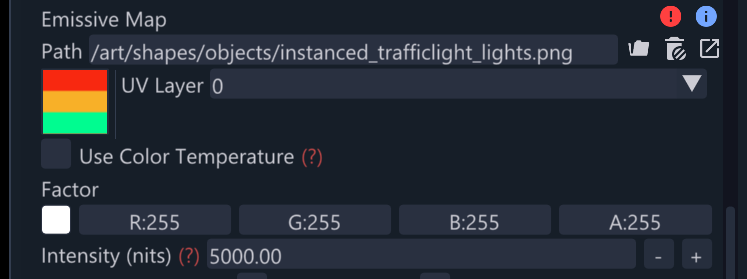
When using nits for emissive materials, the texture color and nits intensity work together to define the final brightness.
- Keep emissive color values within the standard SDR range (
0-255). - Use the nits intensity value as the peak brightness for the SDR texture, not overbright color values.
- The texture modulates the emissive output: full white/color means 100% of the set nits value is used.
- Darker texture values reduce the emitted brightness proportionally.
- If the material’s emissive color factor is left white, brightness variation must be authored directly in the emissive texture.
- Use real light objects for illumination. Emissive materials should make the visible surface glow, not replace the beam or area lighting.
For example, if an emissive material is set to 1000 nits, a white pixel emits the full 1000 nits, while a 50% gray pixel emits roughly 500 nits.
This means different parts of the same emissive texture, such as running lights, brake lights, screens, or small indicators, should be balanced through the texture itself while using a physically reasonable nits value.
For vehicle lights, use emissive materials to make the lens or bulb surface appear lit, then use real light sources for illumination. This keeps visible glow, projected light, bloom, and exposure easier to tune independently.
Night emissives can be very bright once Auto Exposure adapts to darkness. The current pipeline applies EV compression to very bright emissives at night so details remain readable instead of clipping immediately. This is a safety mechanism for display range, not a reason to use unrealistic emissive values.
This replaces older workflows that relied on bloom or exaggerated color values.
Sky and sun
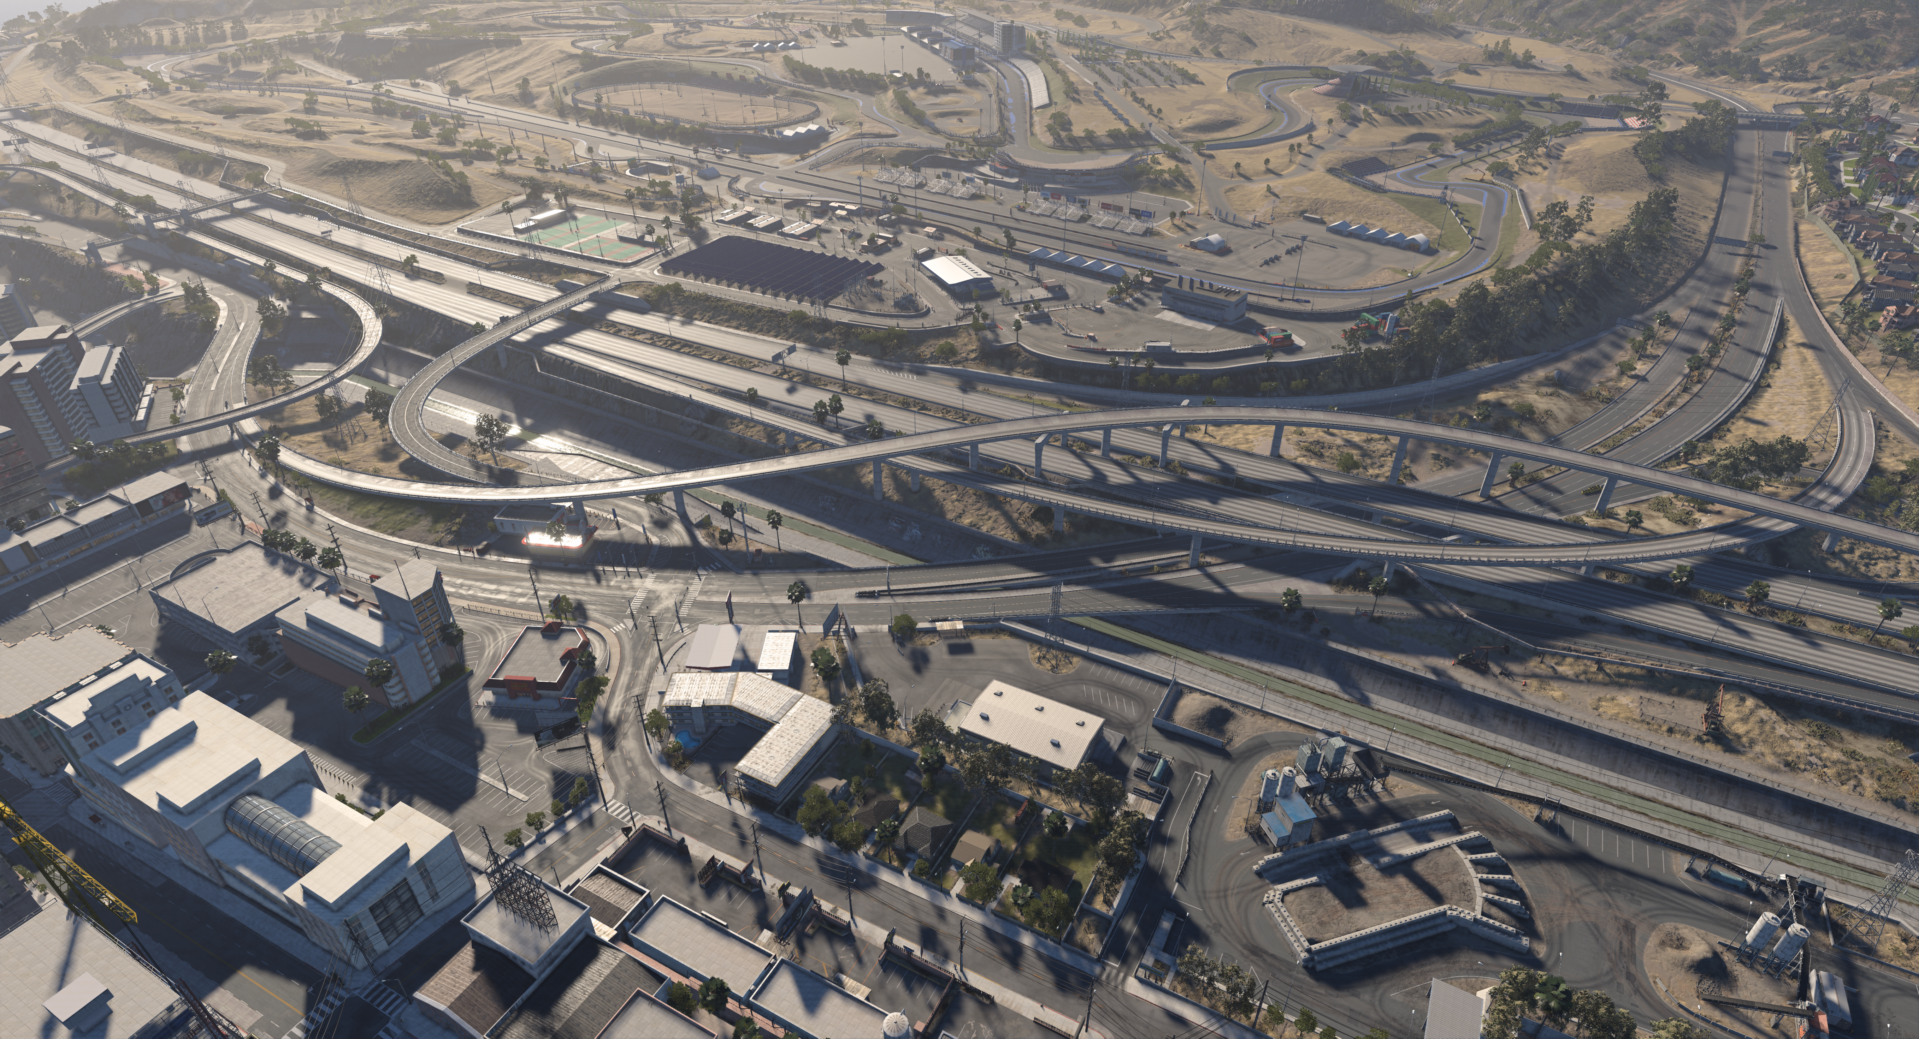
The sky, sun, and moon are controlled by the game engine and use physically based values. They provide both direct light and ambient light. Their intensity is not arbitrary, it follows real world ranges and uses lux where it contributes to scene lighting, providing consistent outdoor lighting.
Clear Sky
Overcast
Lighting from these sources is dynamically affected by factors such as sun height (time of day), atmospheric scattering, fog, and cloud coverage. As a result, overall scene illumination and color can vary significantly throughout the day and under different weather conditions.
Night sky elements such as the moon disc, stars, Milky Way, and meteors use EV-style brightness offsets on top of their calibrated ranges. EV 0 means the calibrated value, +1 doubles it, and -1 halves it. These controls are intended for artistic readability while keeping the scale meaningful.
For ScatterSky, constellations, clouds, and procedural Night Sky setup, see Sky, Atmosphere, and Night Sky
.
Tips and suggestions
- If you are unsure about your lighting, use manual exposure and verify values using known EV references.
- Always set exposure first. Incorrect exposure will make physically correct lights look wrong.
- Test lighting across different times of day and weather conditions.
- Use real world reference values whenever possible instead of guessing.
- Keep emissive color values within SDR range (0-255) and control brightness using nits.
- Use
intensityfor new light objects. Treatbrightnessas a legacy compatibility field. - Avoid compensating for bad lighting by increasing intensity. Fix the root cause instead (exposure, scale, or setup).
Further reading
- SI base unit: candela (cd) - official definition of the candela and its relationship to other photometric units.
- Moving Frostbite to PBR - production notes from Frostbite’s transition to physically based rendering.
- Using Physical Lighting Units in Unreal Engine - a comparable implementation of candelas, lumens, inverse squared falloff, and EV100 in another engine.
- Realistic and Physical Lighting in UE5: What is PBL ? - an introduction to physical lighting units, exposure, and measured reference values.
- Realistic and Physical Lighting in UE5: The PBL Workflow - a practical workflow for studying, measuring, and reproducing real-world lighting.
- Get Started With Physically Based Lighting In UE5 With PBL Database - an overview of a public database of measured lighting references.
- Breakdown: The Science Of Lighting - background on photometric units and physically based lighting concepts.
Was this article helpful?