Stripped Interior Tutorial
Overview
To have realistic racing configs for existing and future cars in BeamNG we need to add stripped interiors for most of unibody vehicles.
Because the workflow of creating stripped interiors are identical from car to car I developed guide and assets that should be used for future project.
In-game result:
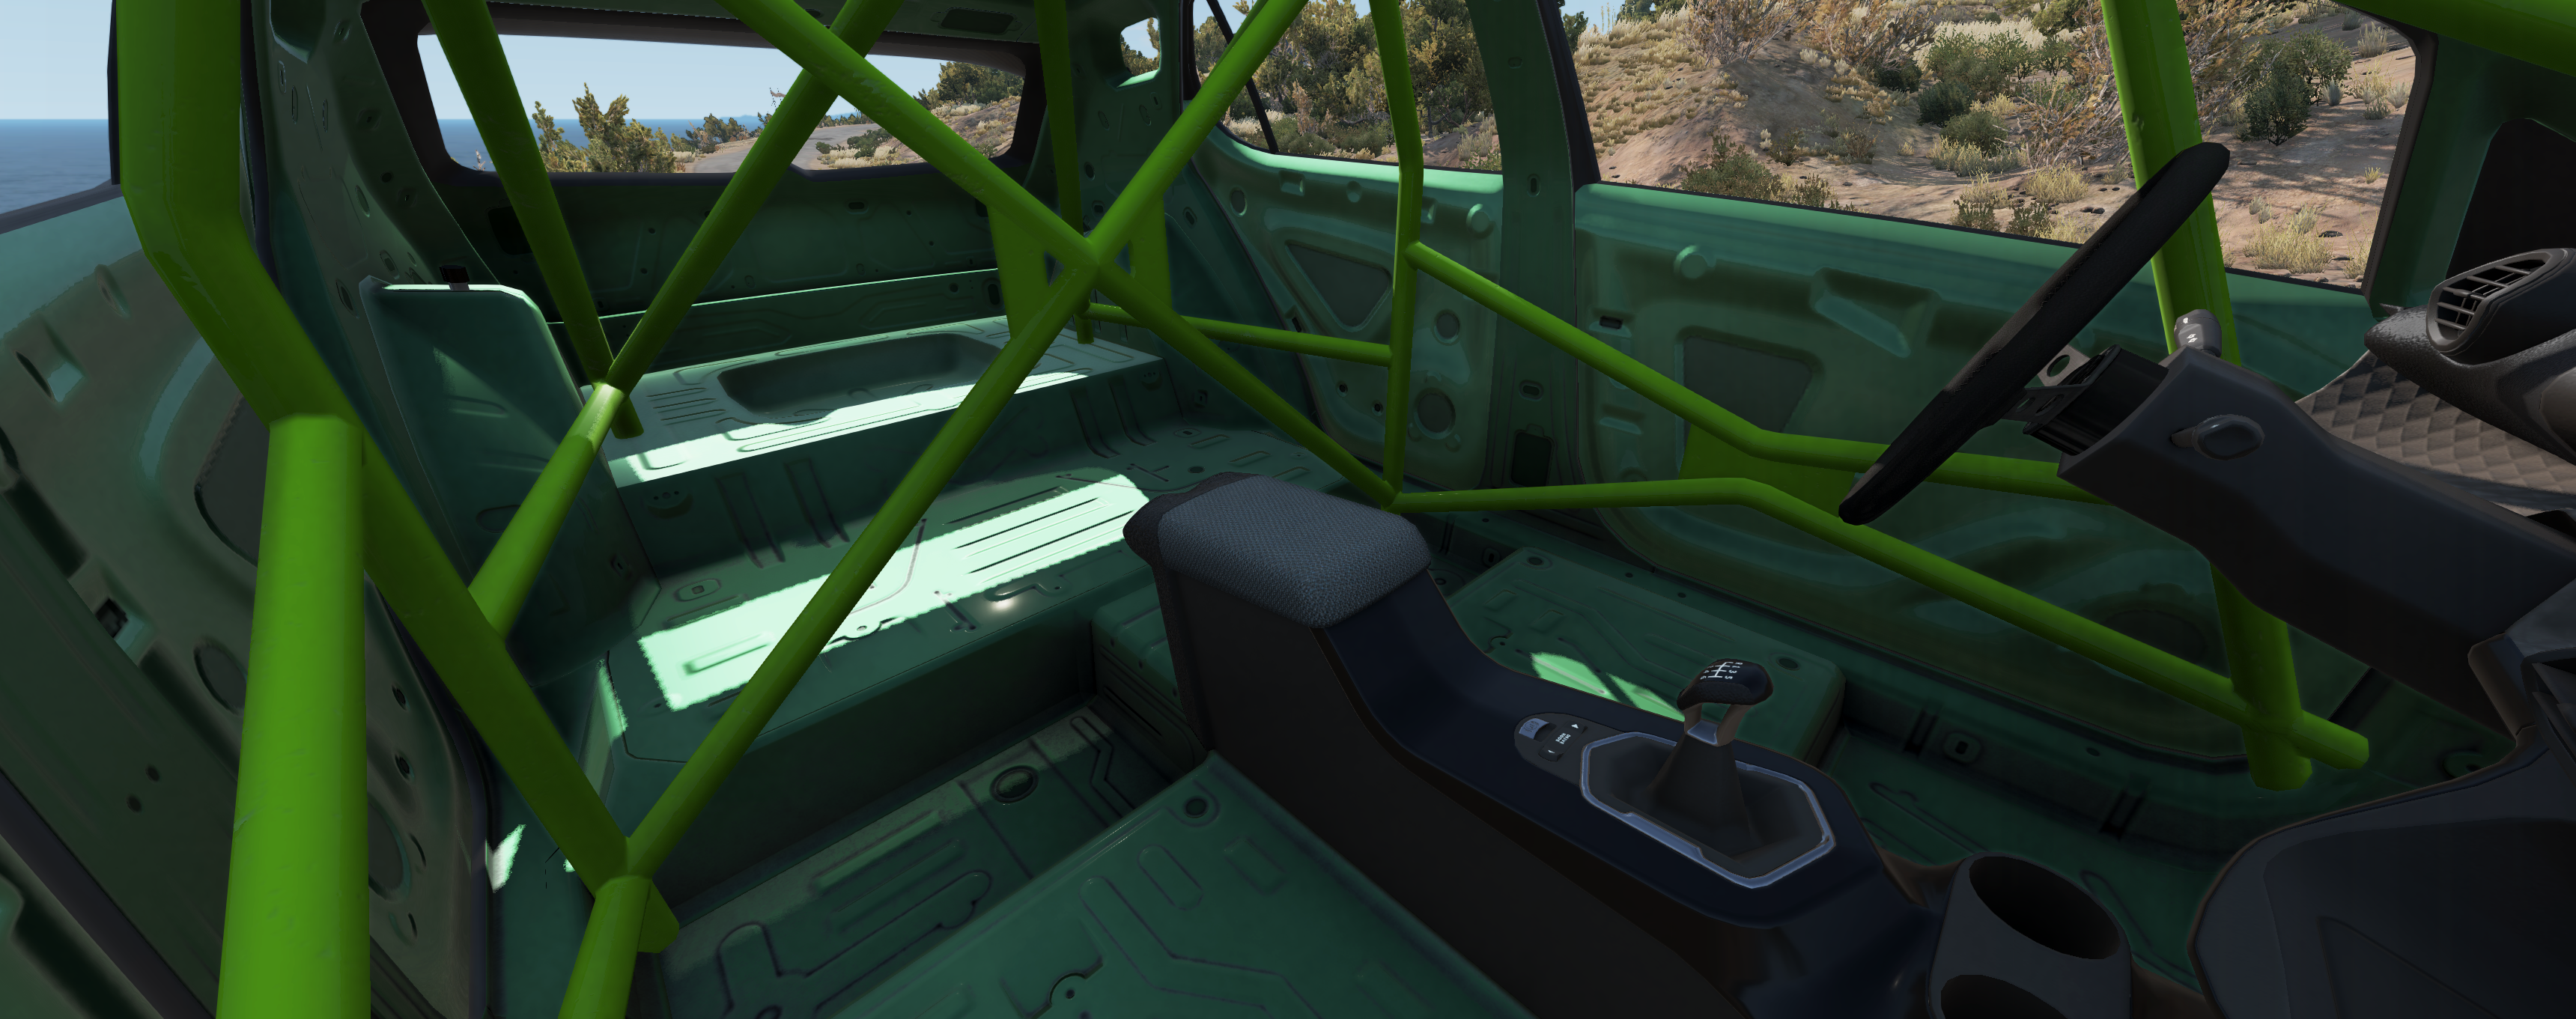
Meshes
Interior carpet mesh should be separated and new stripped interior mesh should be added to replace carpet in the game.
Meshes could be created based on interior carpet with combination of sheet metal panels and structural components where those should be.
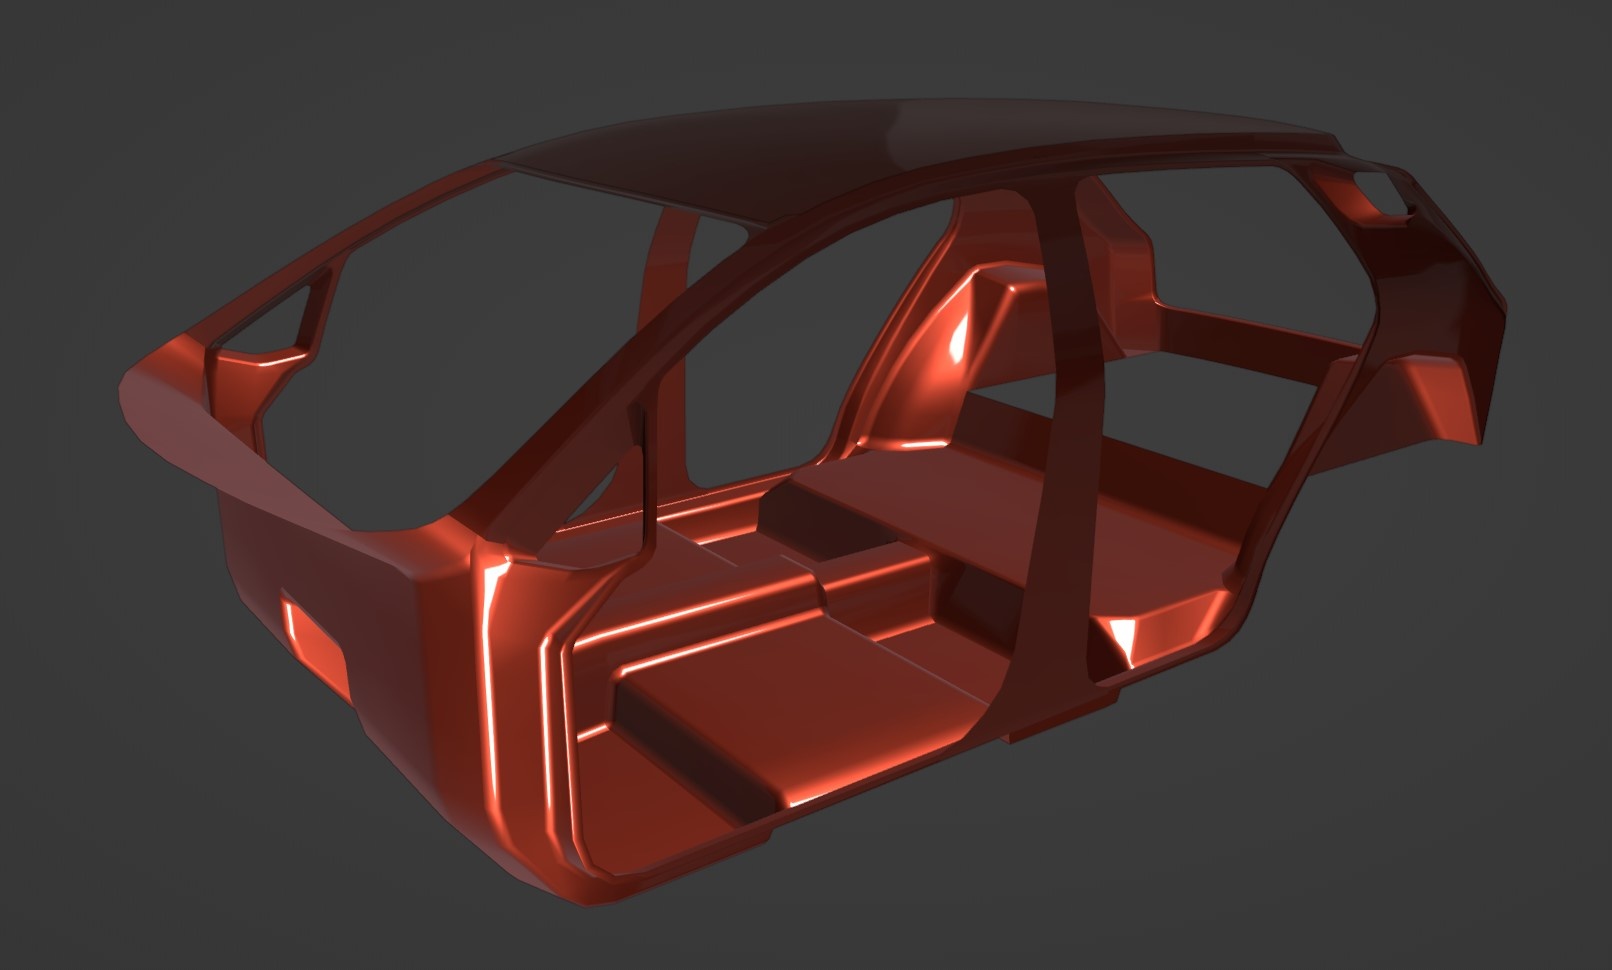
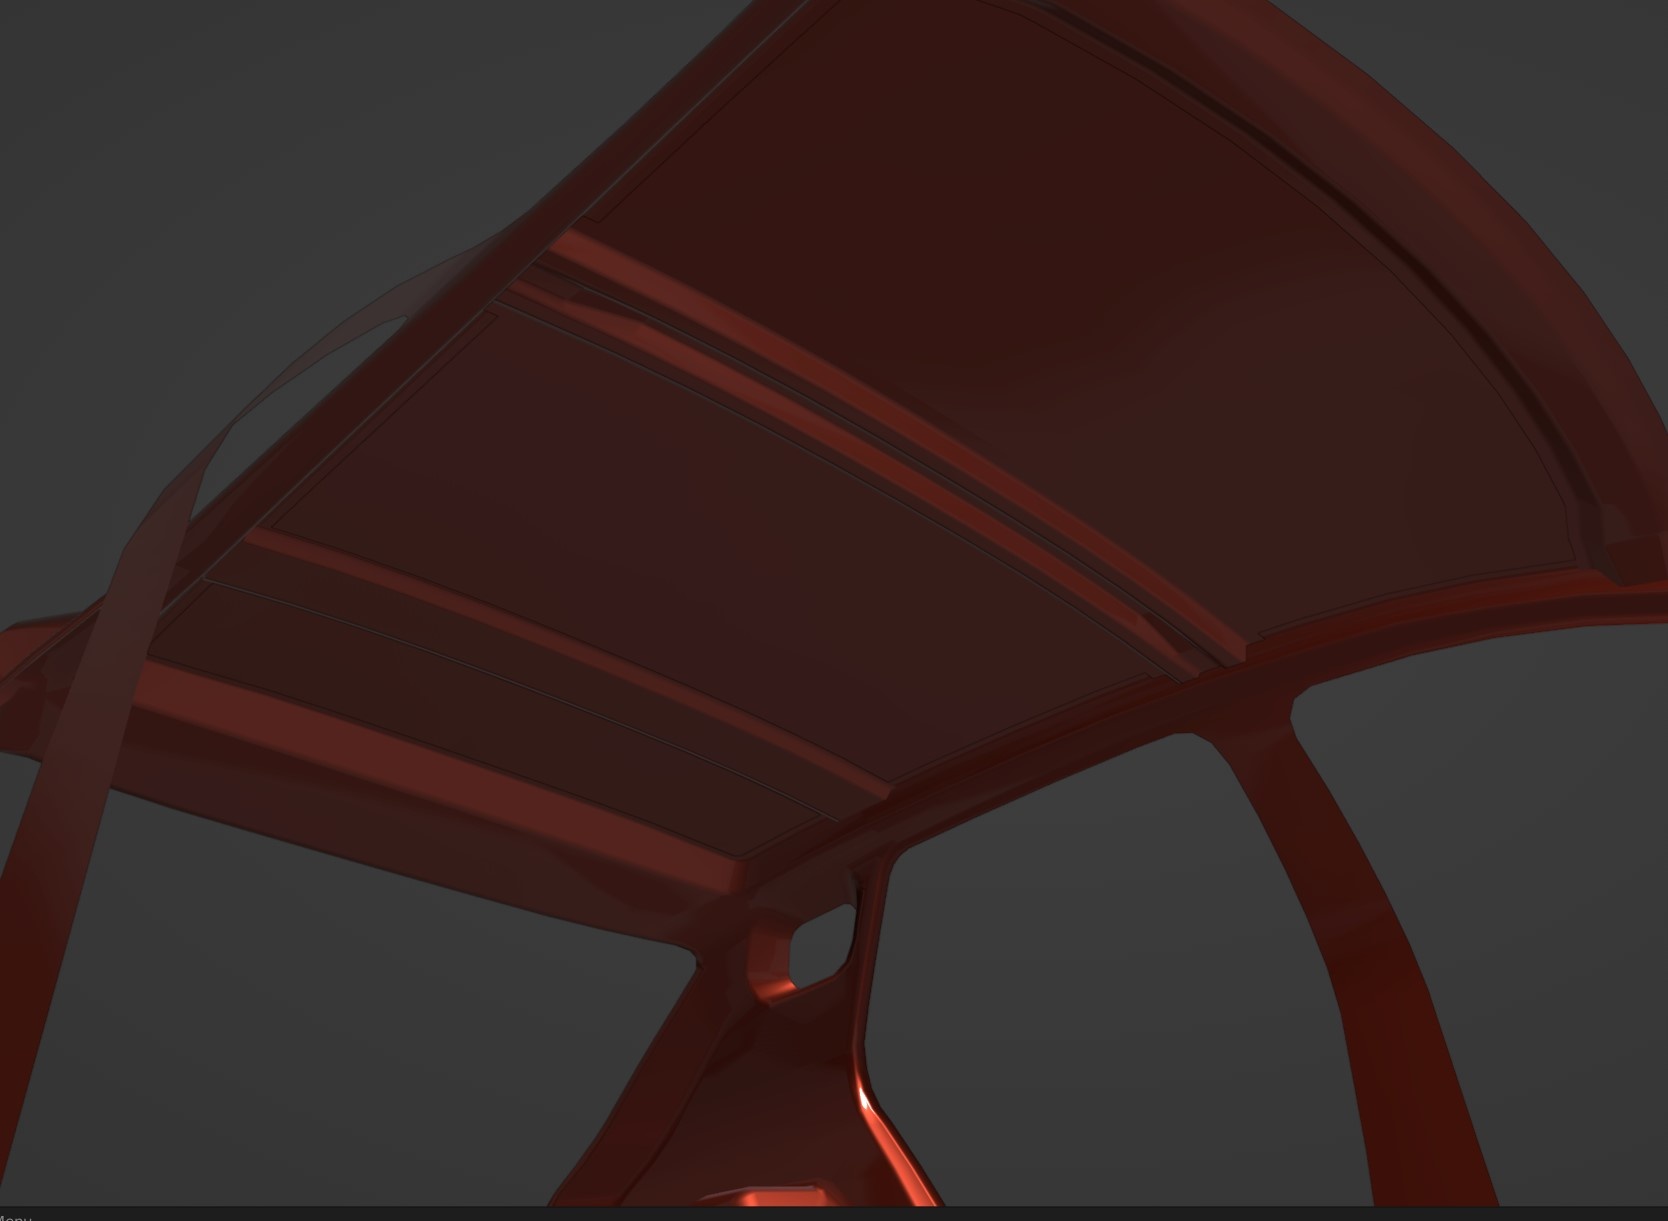
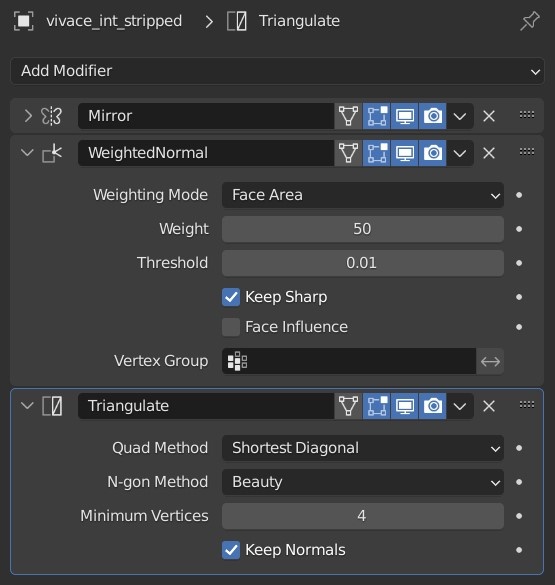
I used WeightedNormal modifier to improve shading and Triangulate to avoid issues in Substance painter while placing stamps.
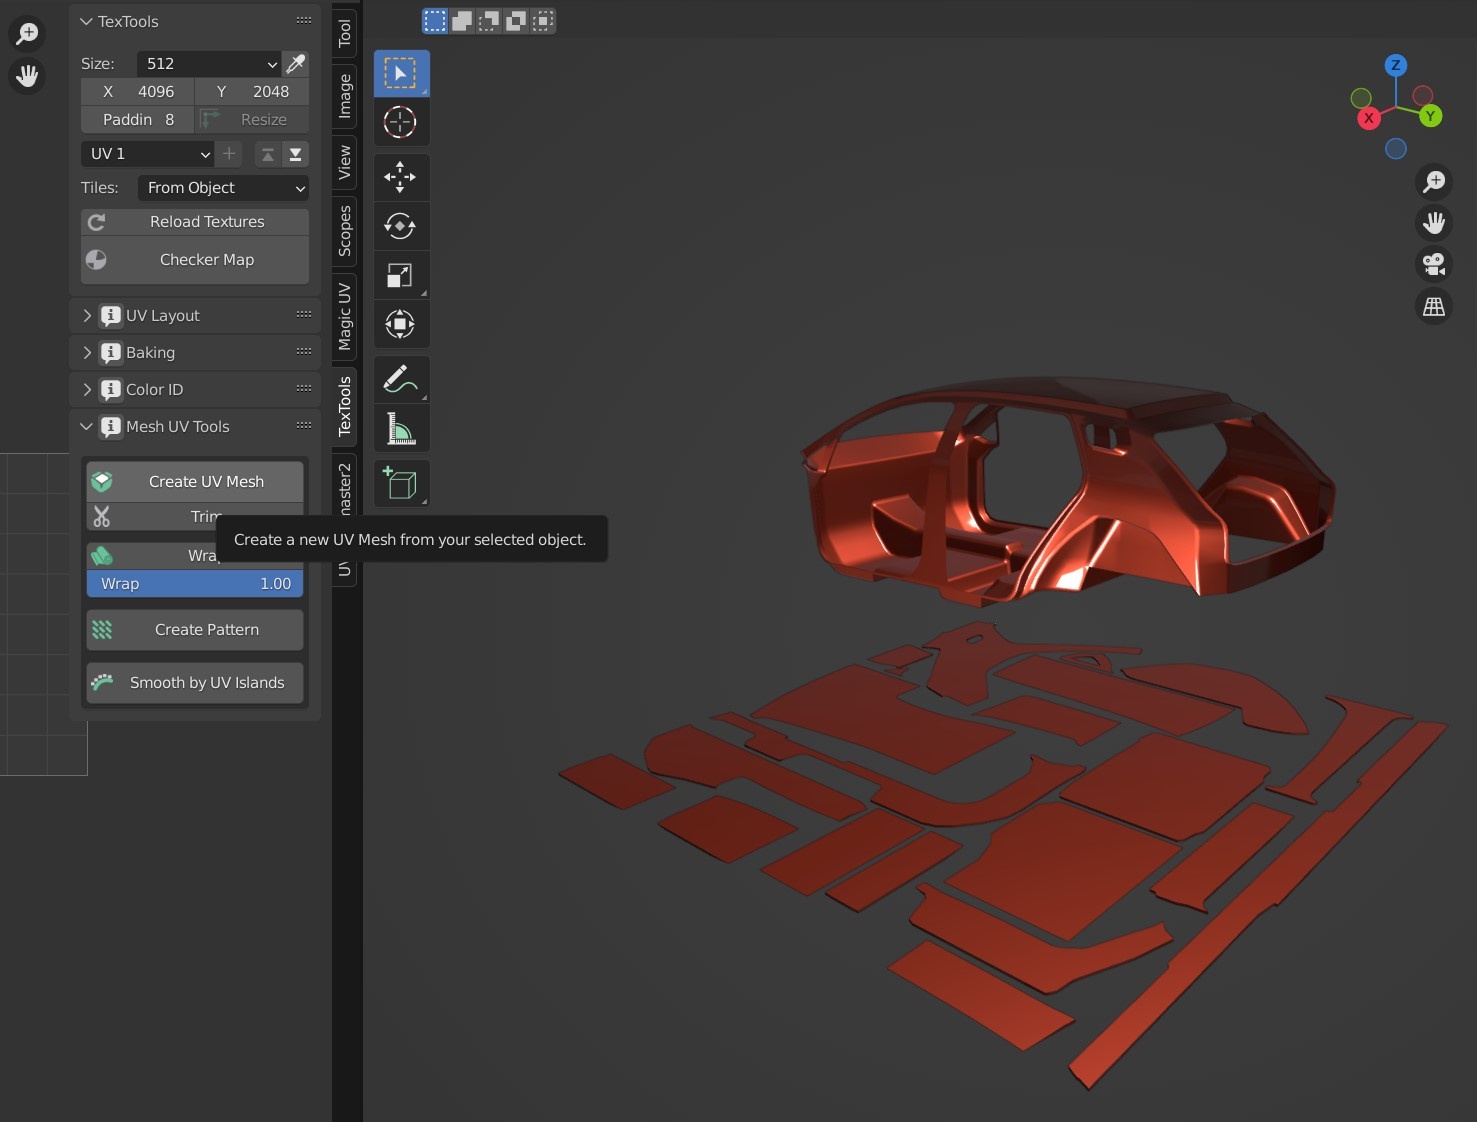
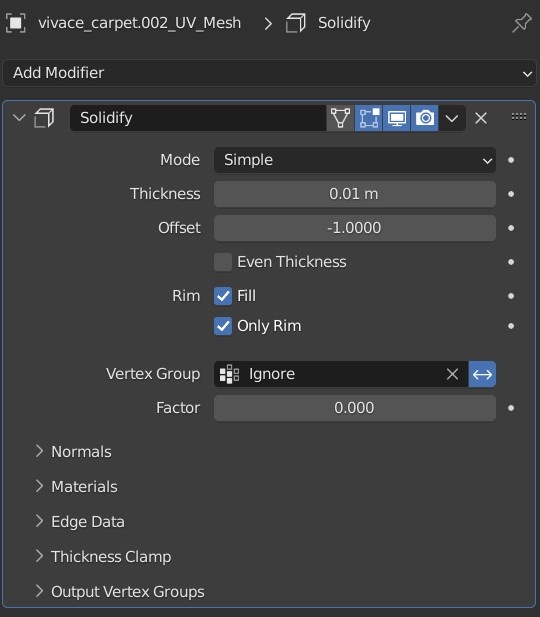
The TexTools addon allows you to create UV mesh from your stripped interior to quickly add thickness on borders on sheet metal panels where you need it and bake bevels with Bevel node.
So with basic normal map and meshes we ready to start working with Substance Painter project.
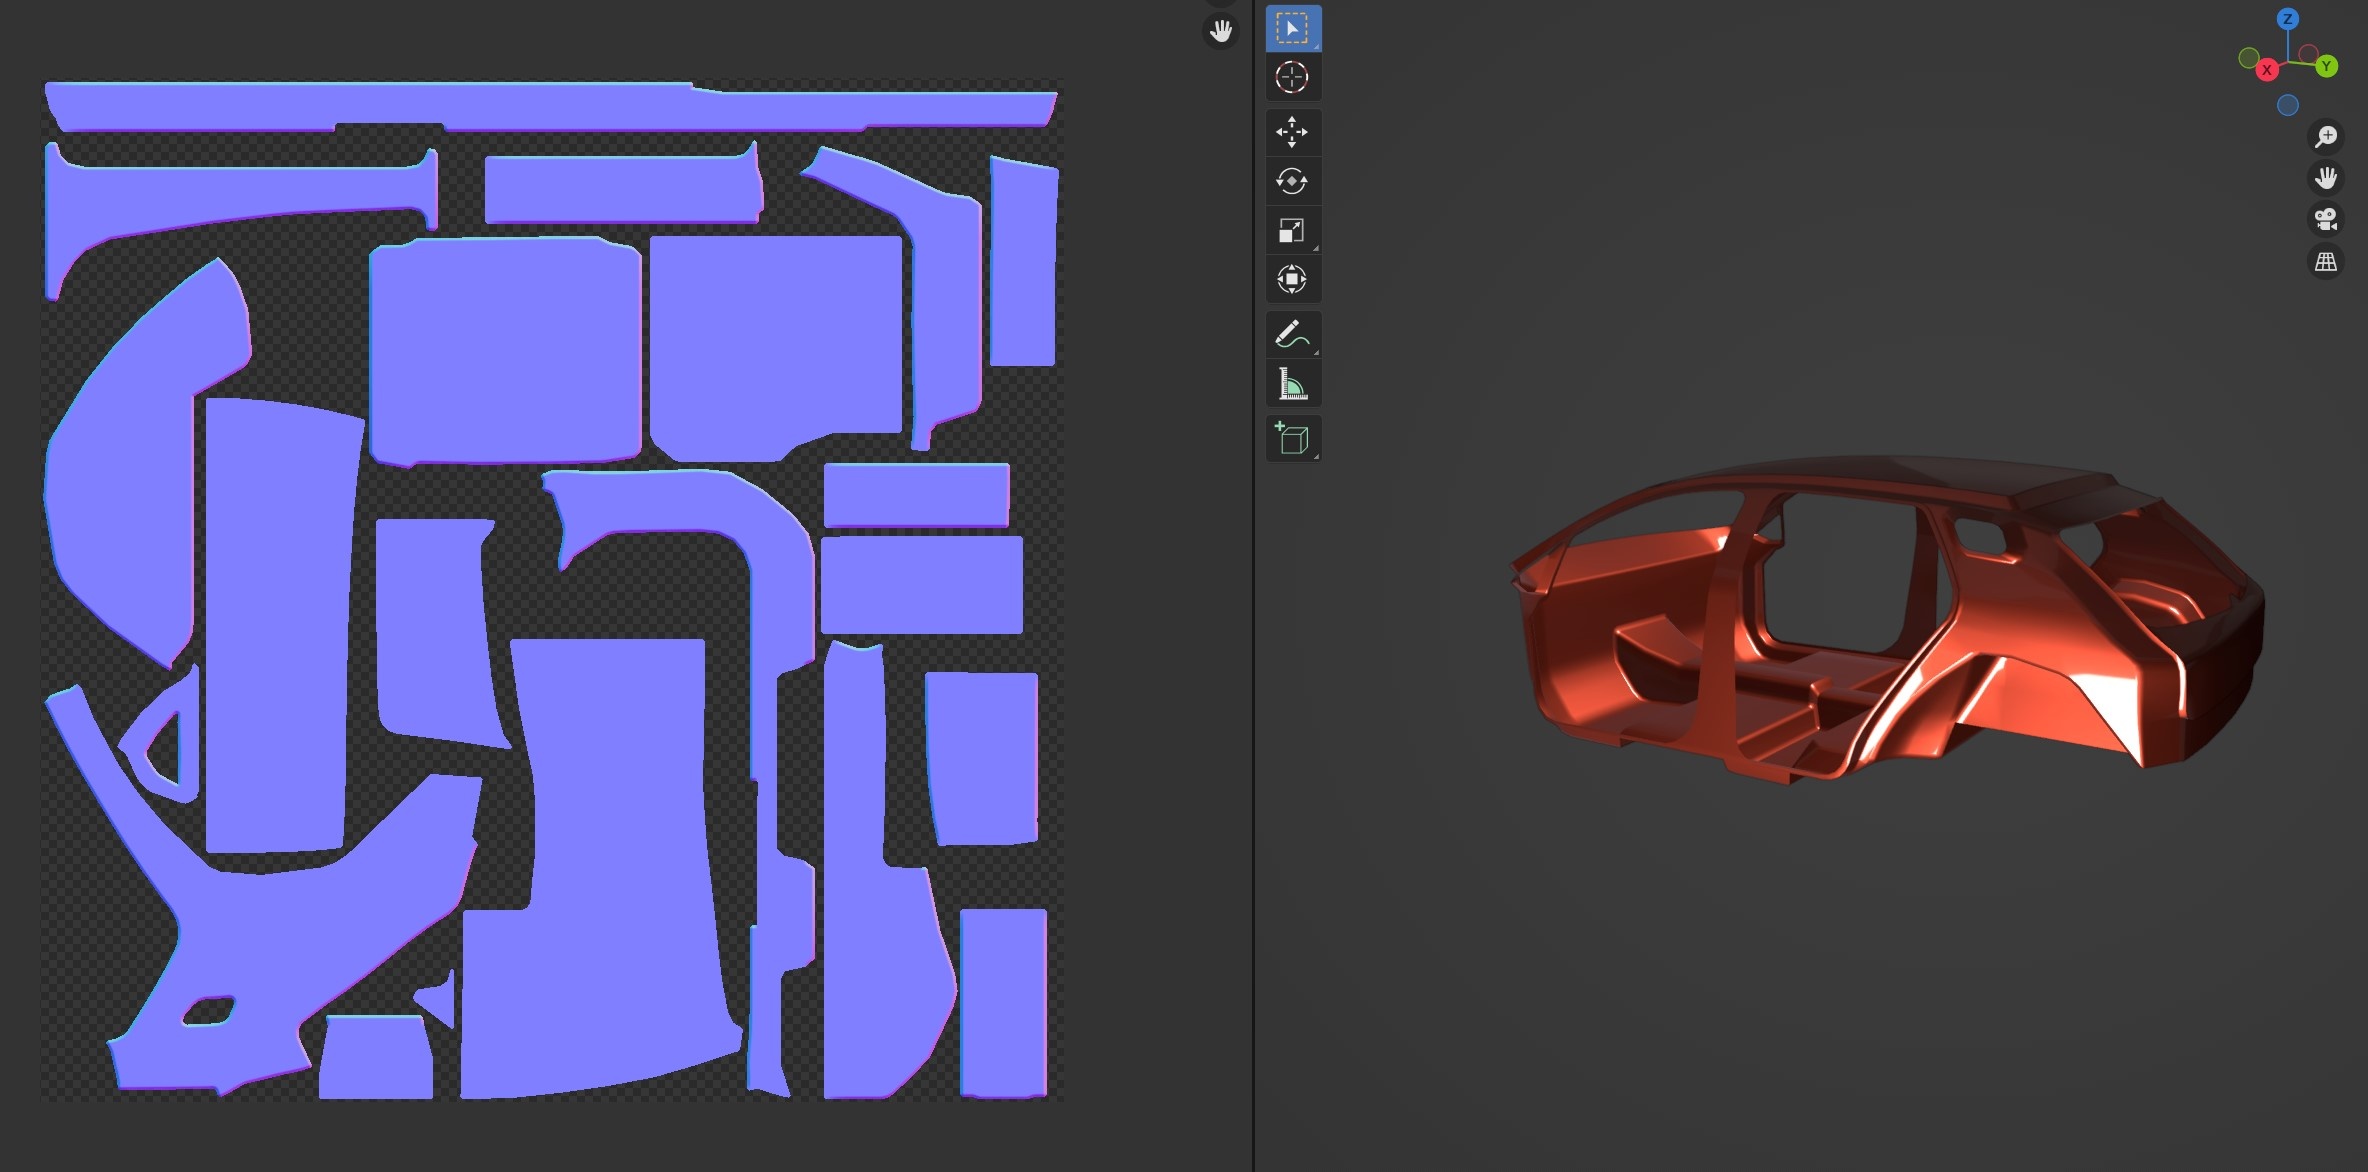
Substance Painter Project
Source Files
- SPP file could be found here:
\vehicle_artwork\vivace\source\Vivace stripped int.spp - Nextcloud Folder
Stamp textures in Substance painter assets folder:

Apart from standard PBR textures, there is also couple of addition maps to work correctly with BeamNG materials.
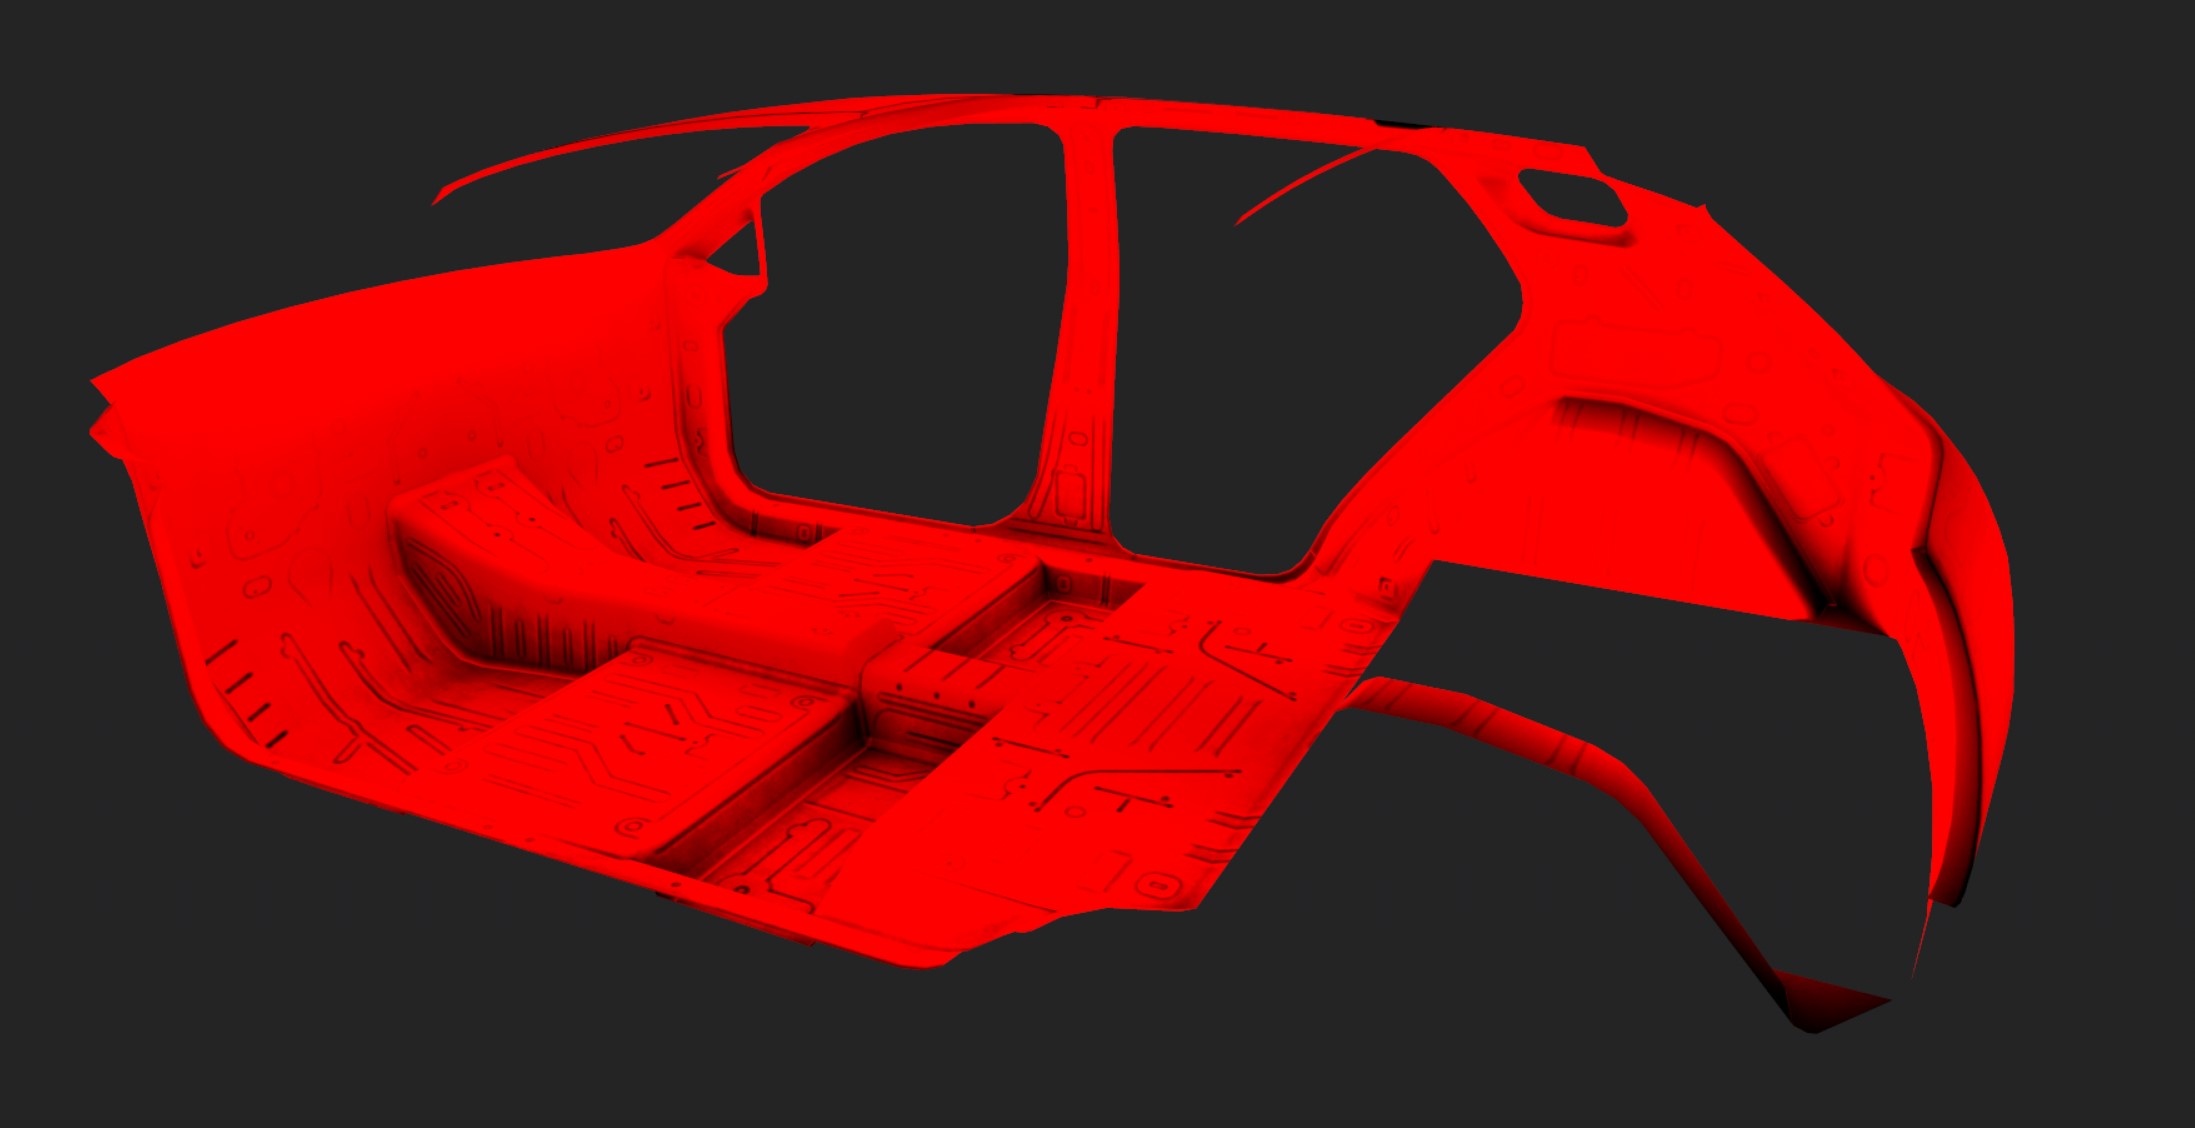
- Color - define where primary color should be
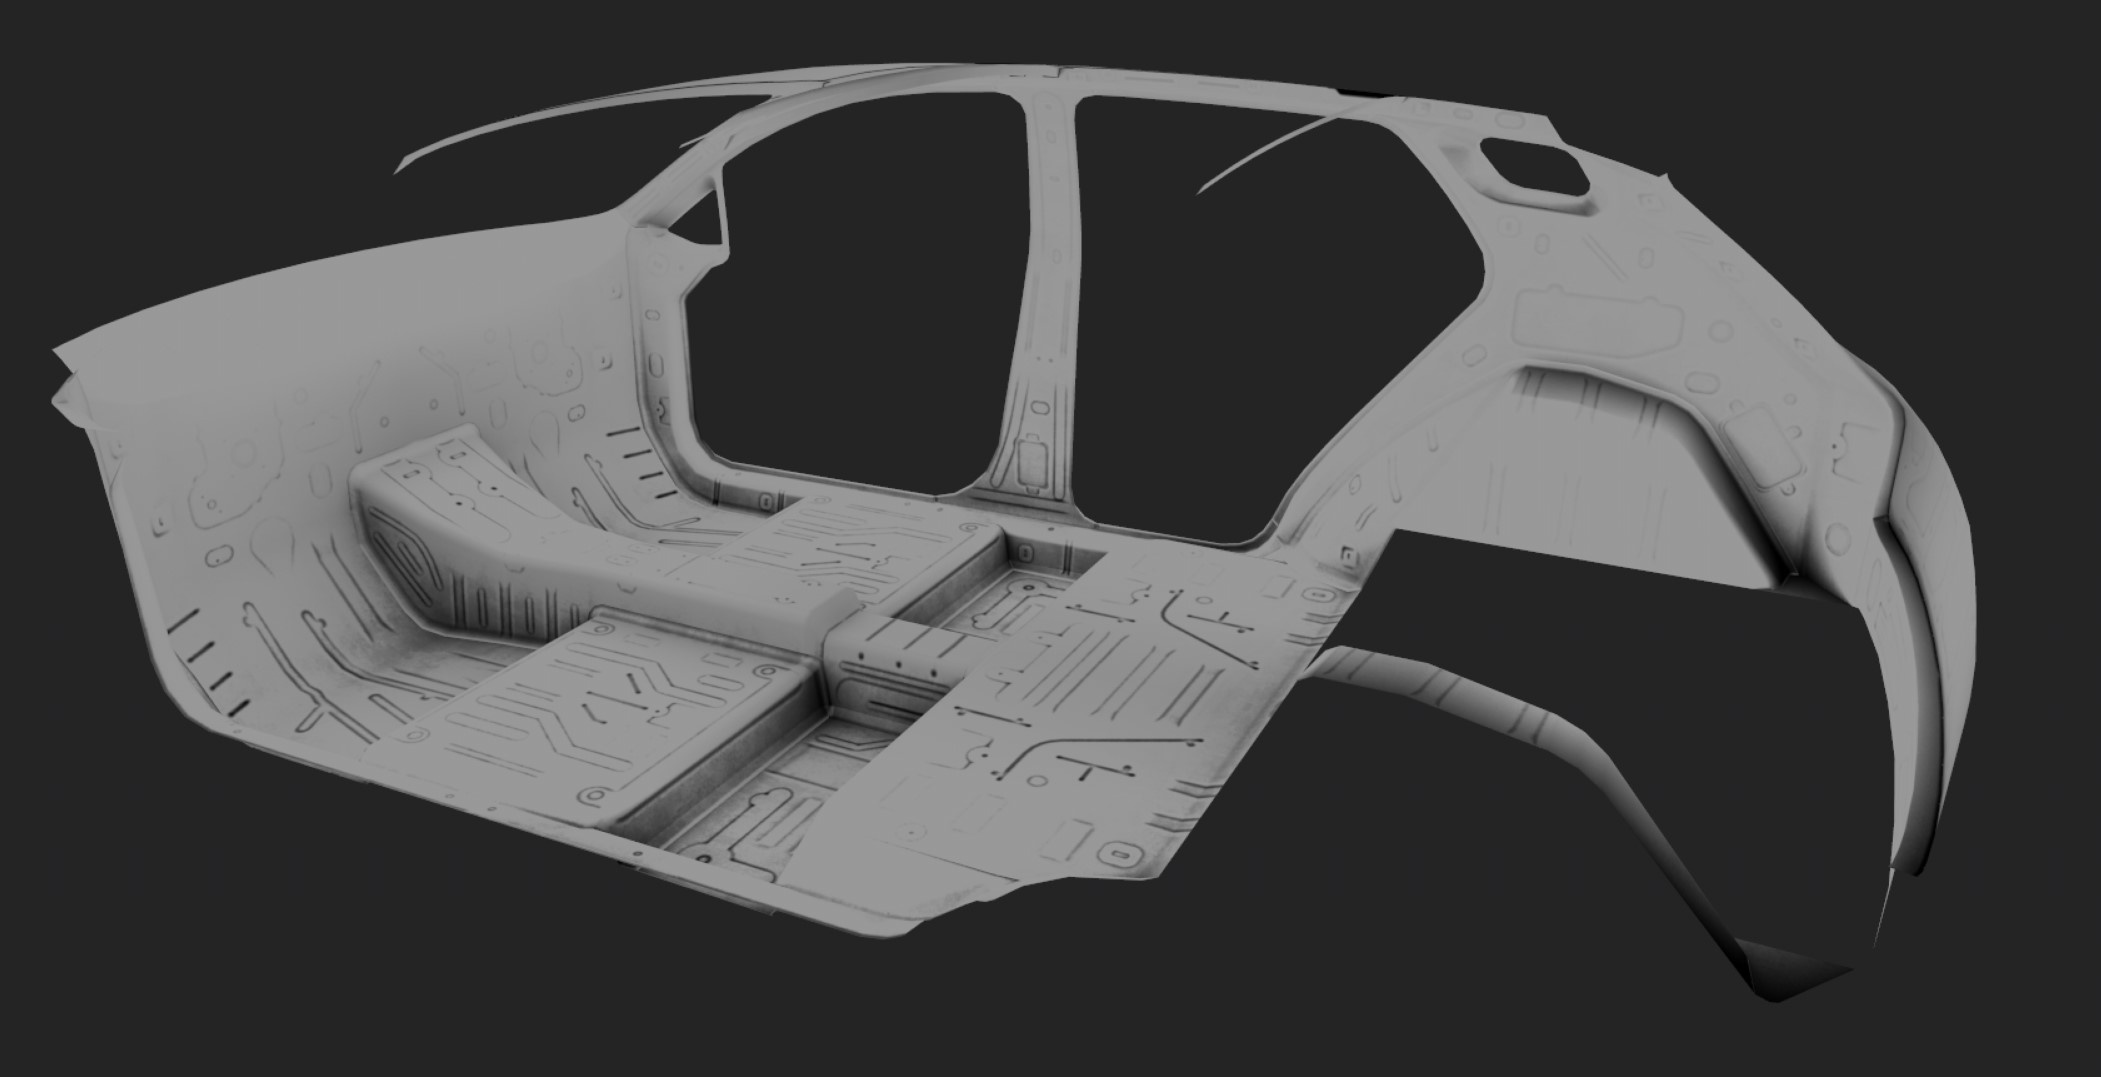
- Clearcoat - clearcoat mask/strength
Colorpallet_alpha_mask- helps to control color strength around dirt and unpainted areas to eliminate artefacts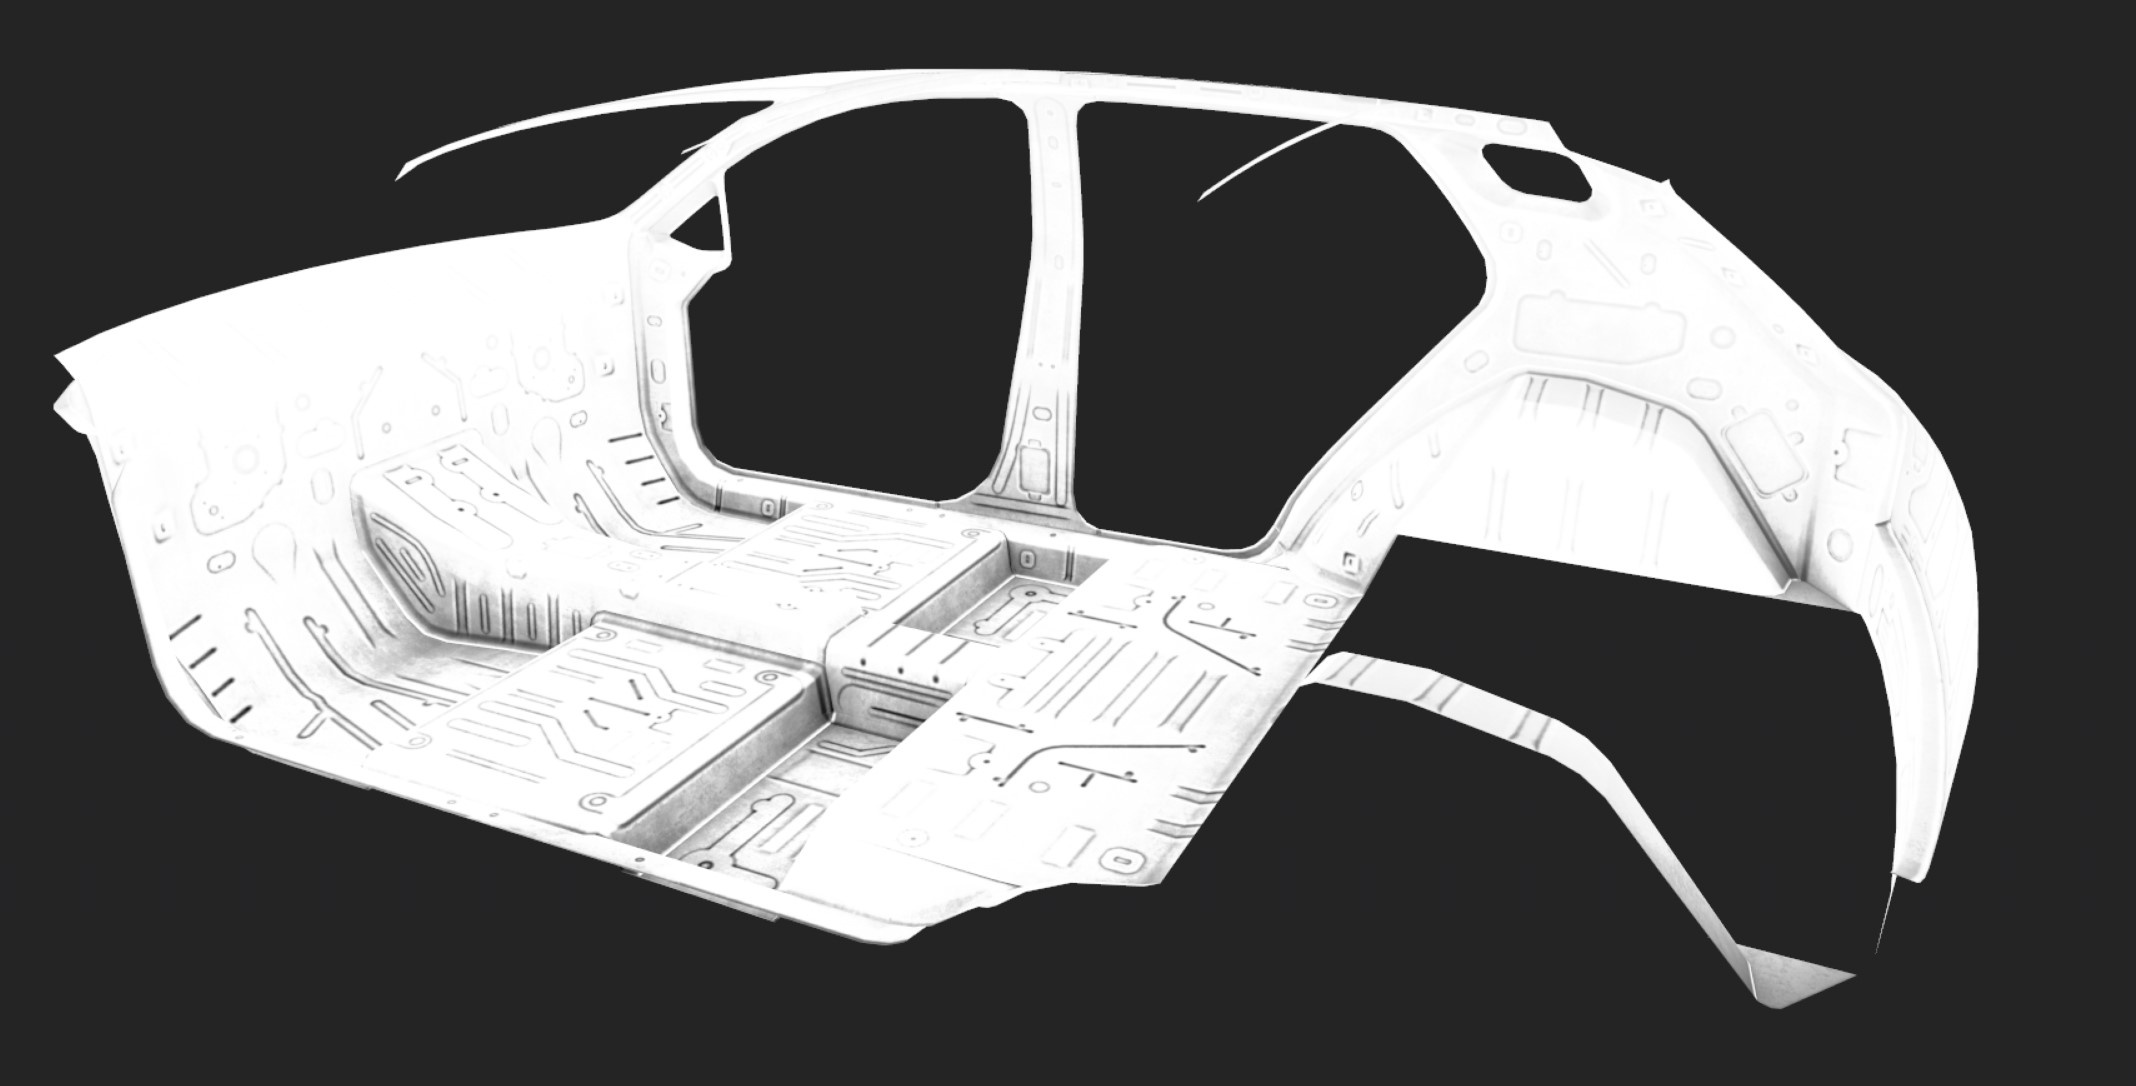
- Layers
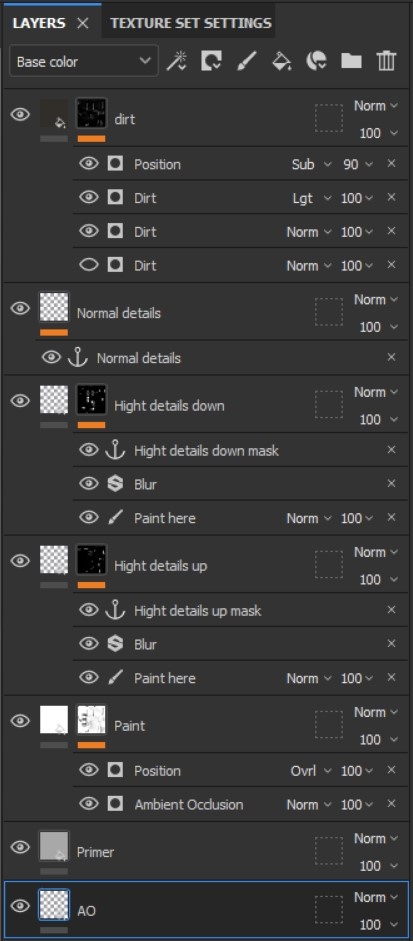
- Put your AO texture to AO channel
- Change primer values and color if you want
- Mask controls unpainted areas
- Play with position gradient (front to back) to find sweat spot
- Use brush to paint your height details
- Change blur value to control smoothness of the borders
- Use brush to paint your height details
- Change blur value to control smoothness of the borders
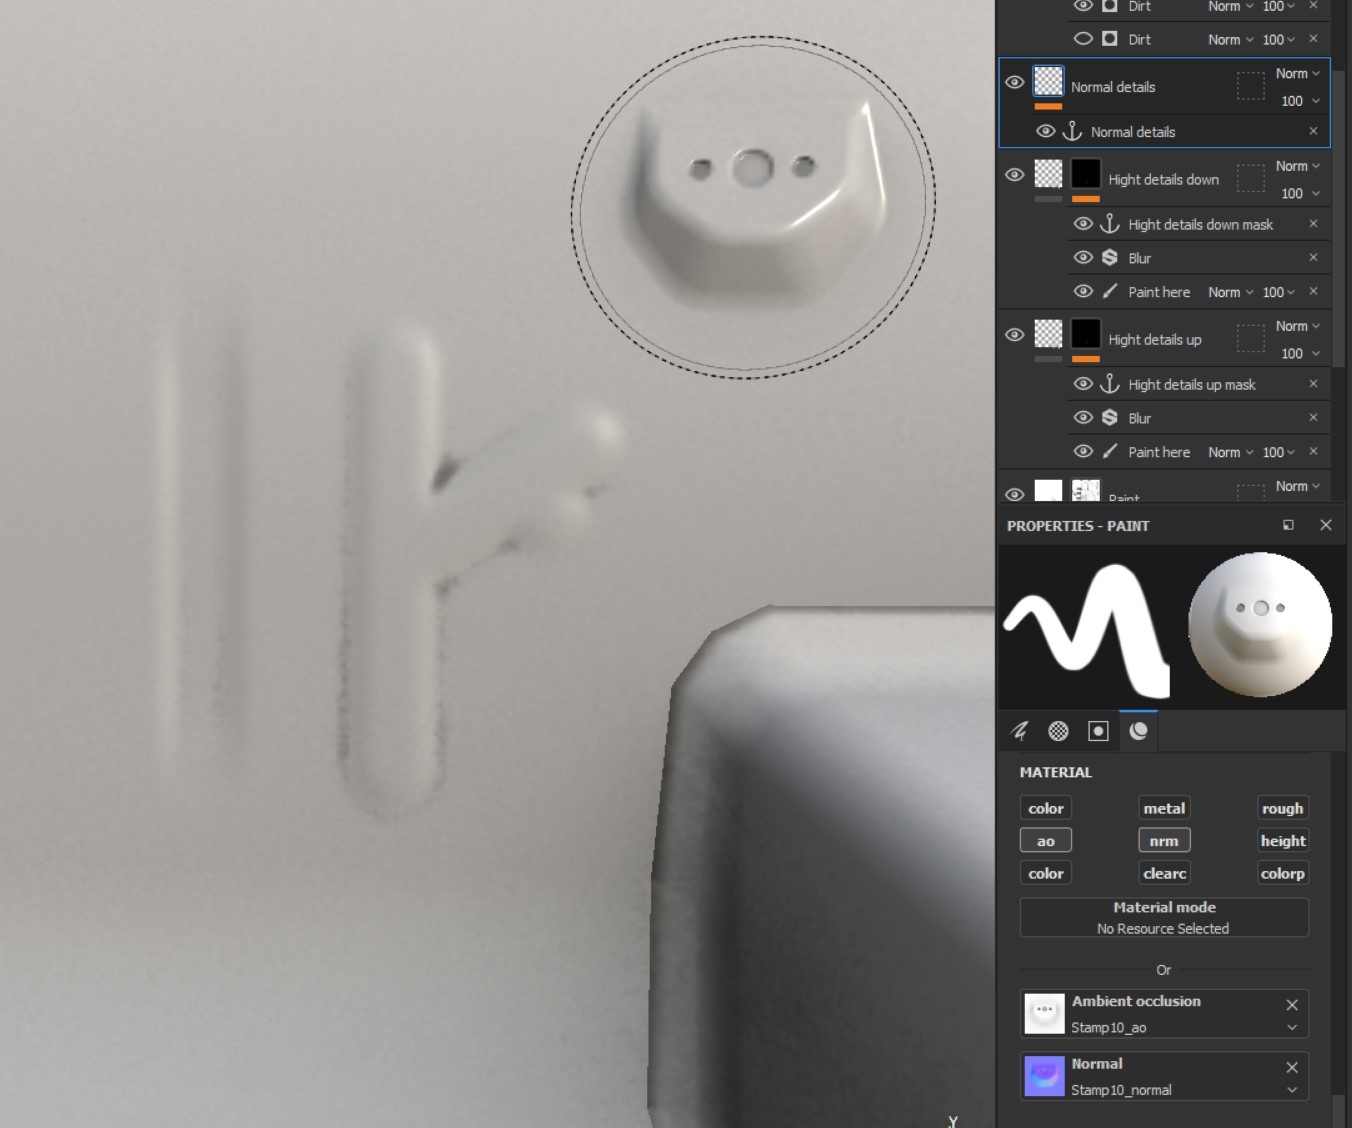
- Use brush with normal and AO texture to add normal map details
- Add your dirt generator to mask
- Position controls dirt distribution between top and bottom
After setting up your project and baking textures use brush to paint height details on masks
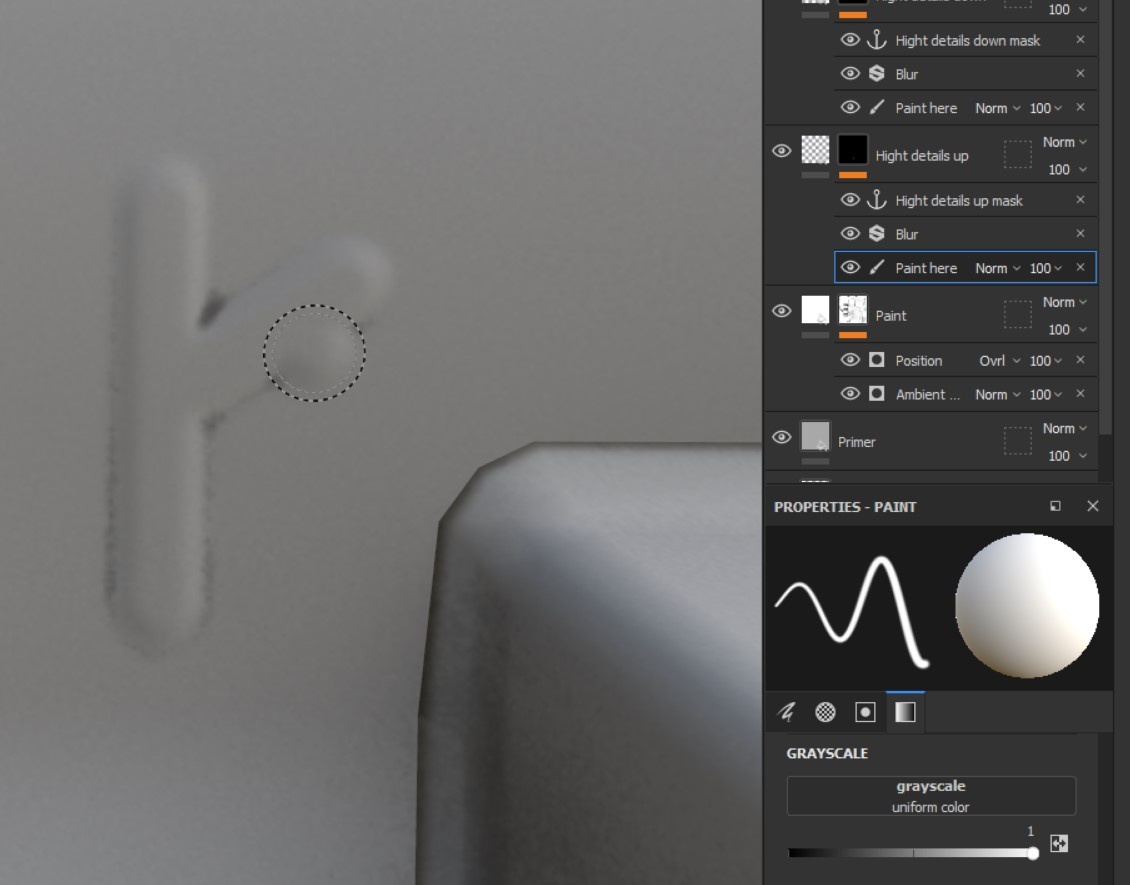
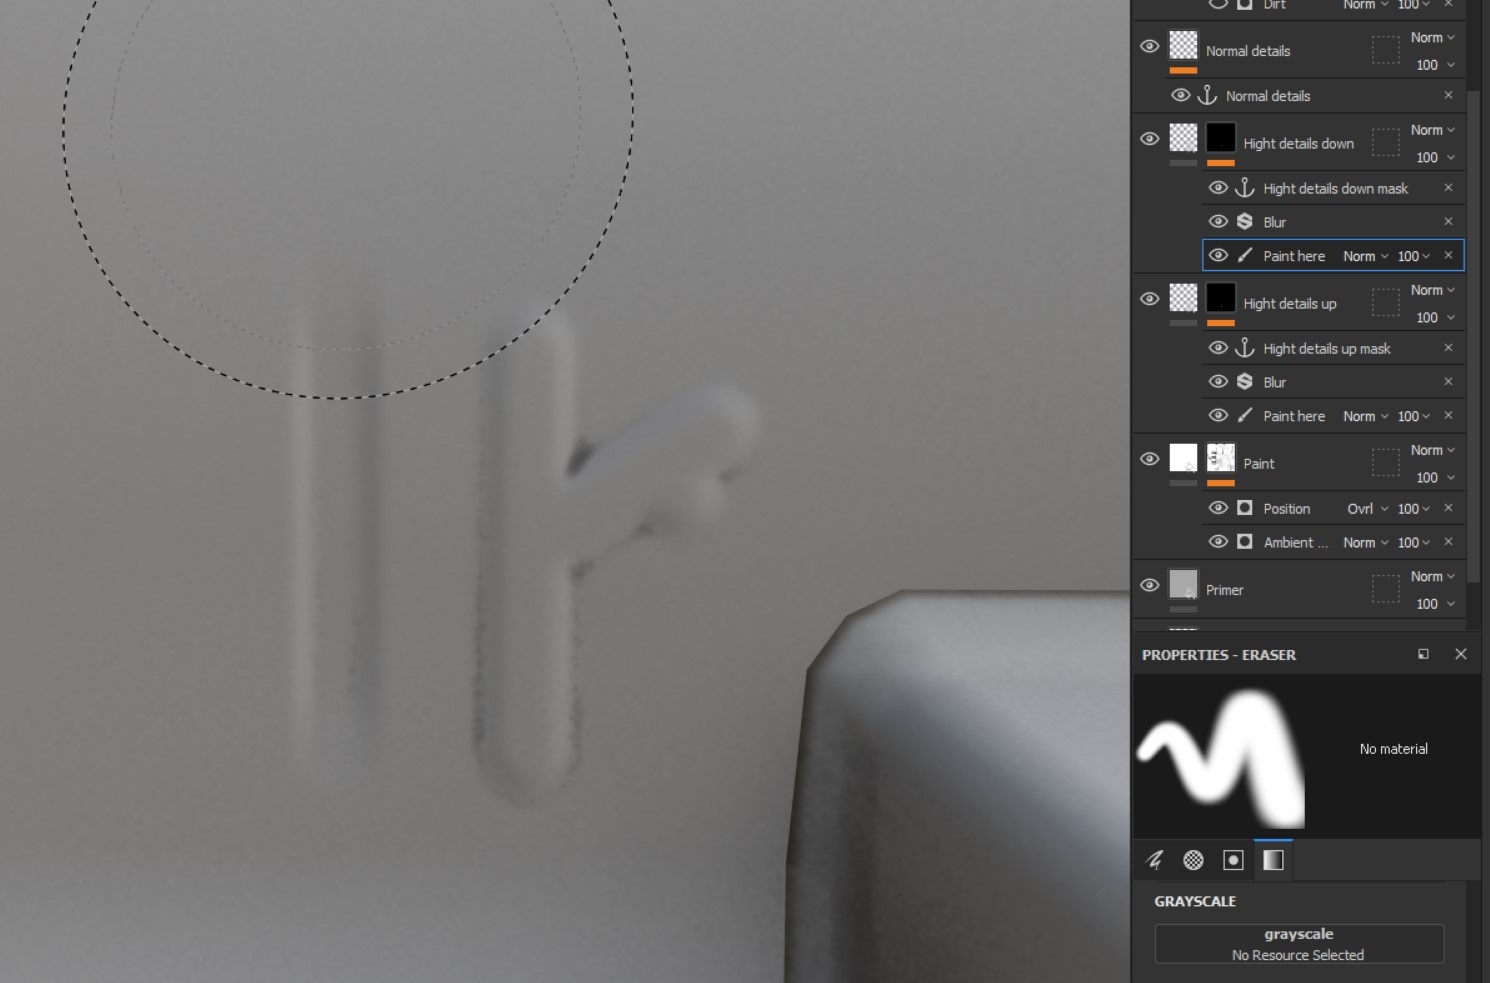
Use Eraser with big smooth brush to fade details, but do not use brush with black color, because it affects dirt layer.
Find stamps in textures assets, add it to brush and stamp it on normal details layer

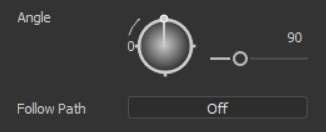
Use Angle attribute of the brush to control direction of the stamp
To show you how to add details information to dirt layer I added new dirt generator to the mask.
- You can find Anchor points for every layer with details information
- Anchor points must be below layer where we’re going to use them (dirt layer in this case)
- Anchor points transfer information to were you need it dynamically so changing original layer information will affect further layers
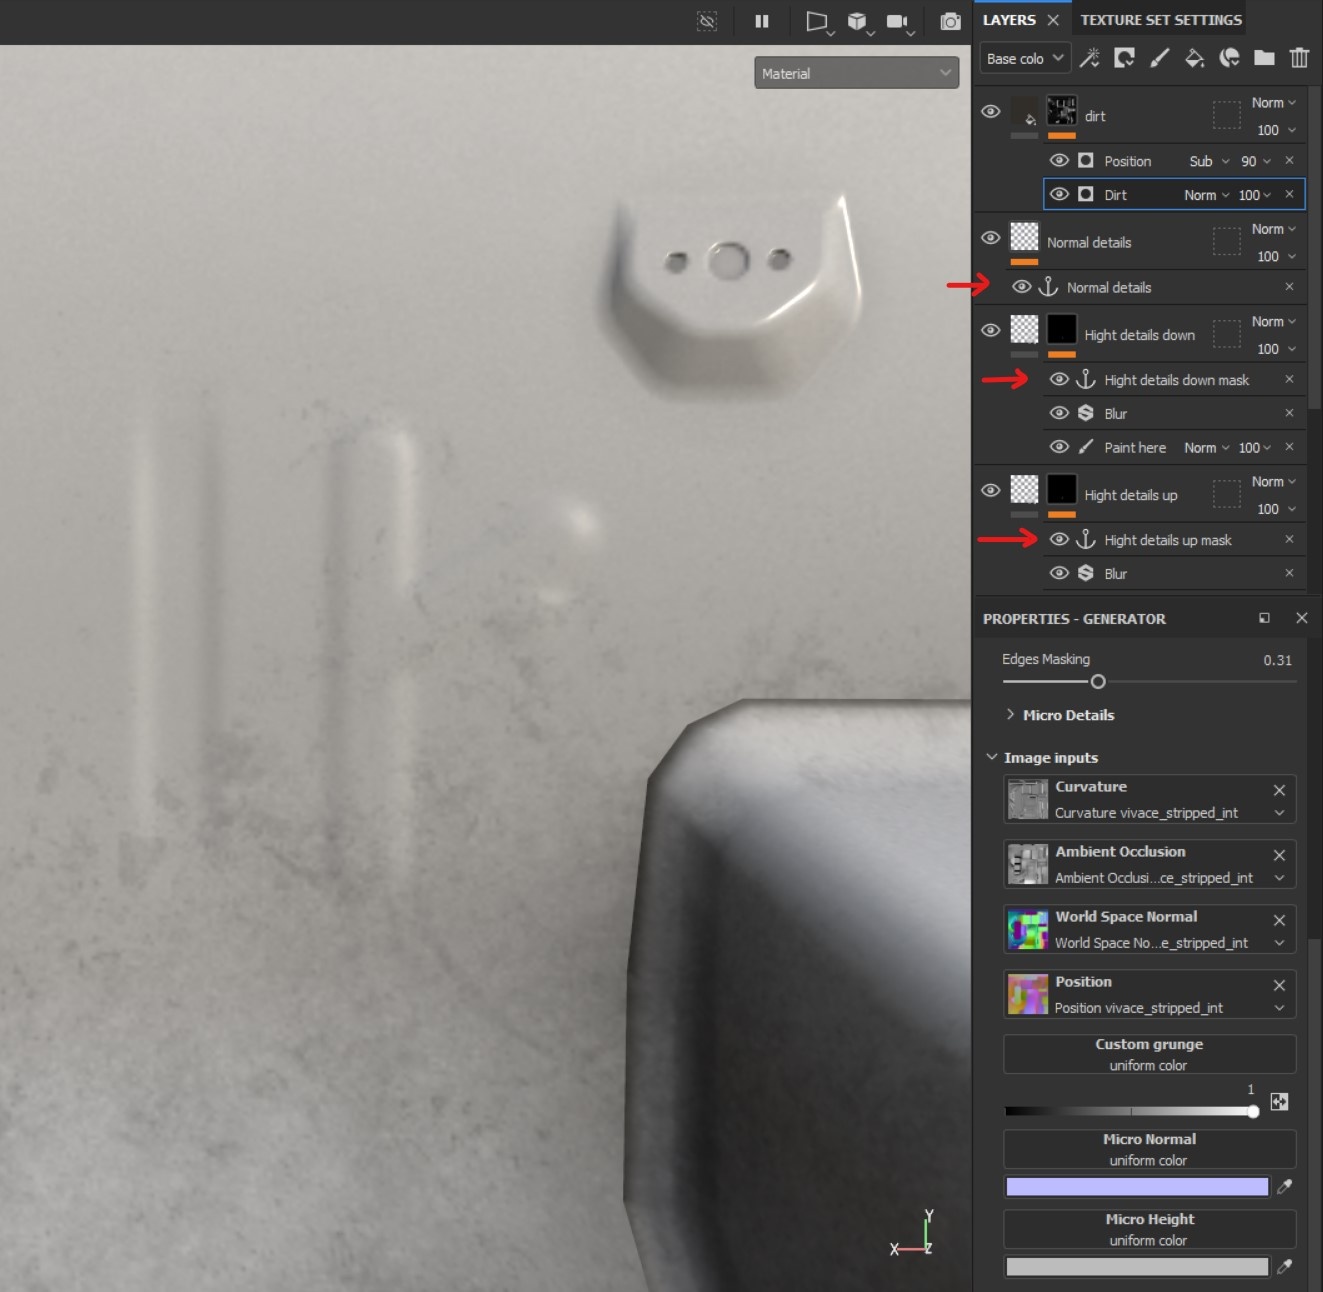
Inside the Dirt generator you will find Micro Details menu:
- Set
Micro NormalsandMicro Highttotrueand set anchor points in the menus below - Play with the settings in Micro Details menu for the fine tuning

But because here we only able to add information from one normal map layer and one height details layer we need to duplicate dirt generator and add second Hight details Anchor point there. Use levels of Anchor point to set dirt to correct position.
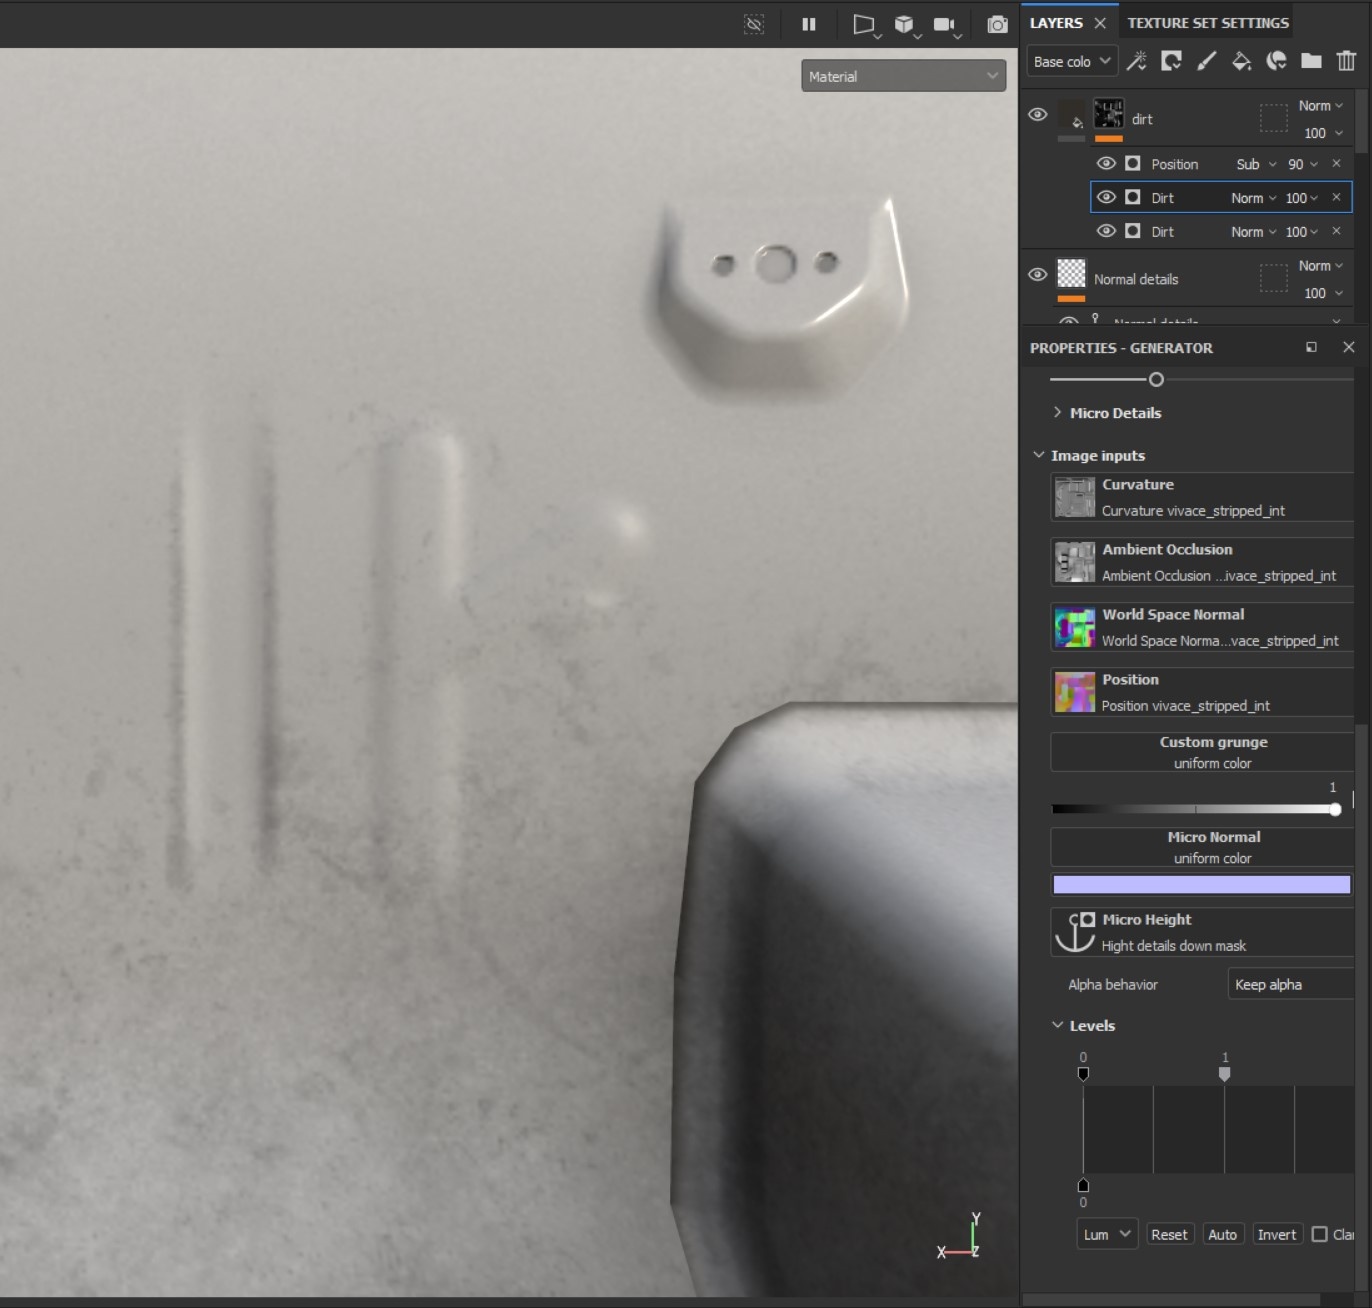
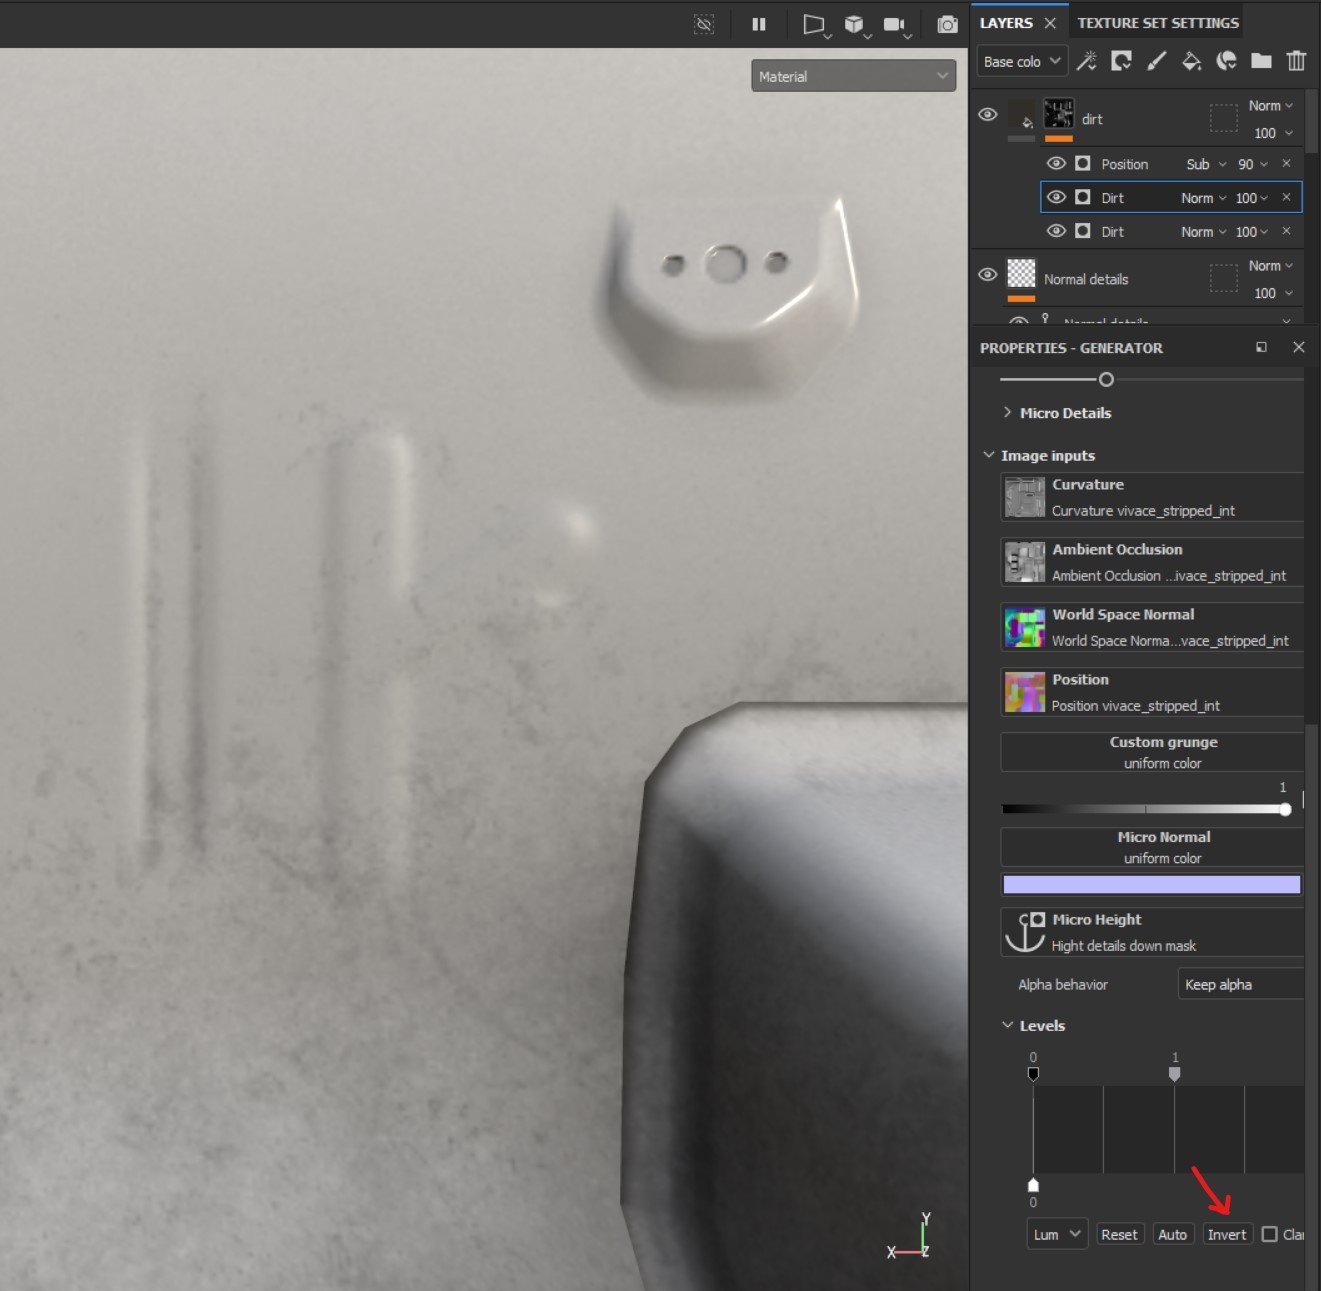
Set the Lighten blend mode for top Dirt generator to blend them correctly.
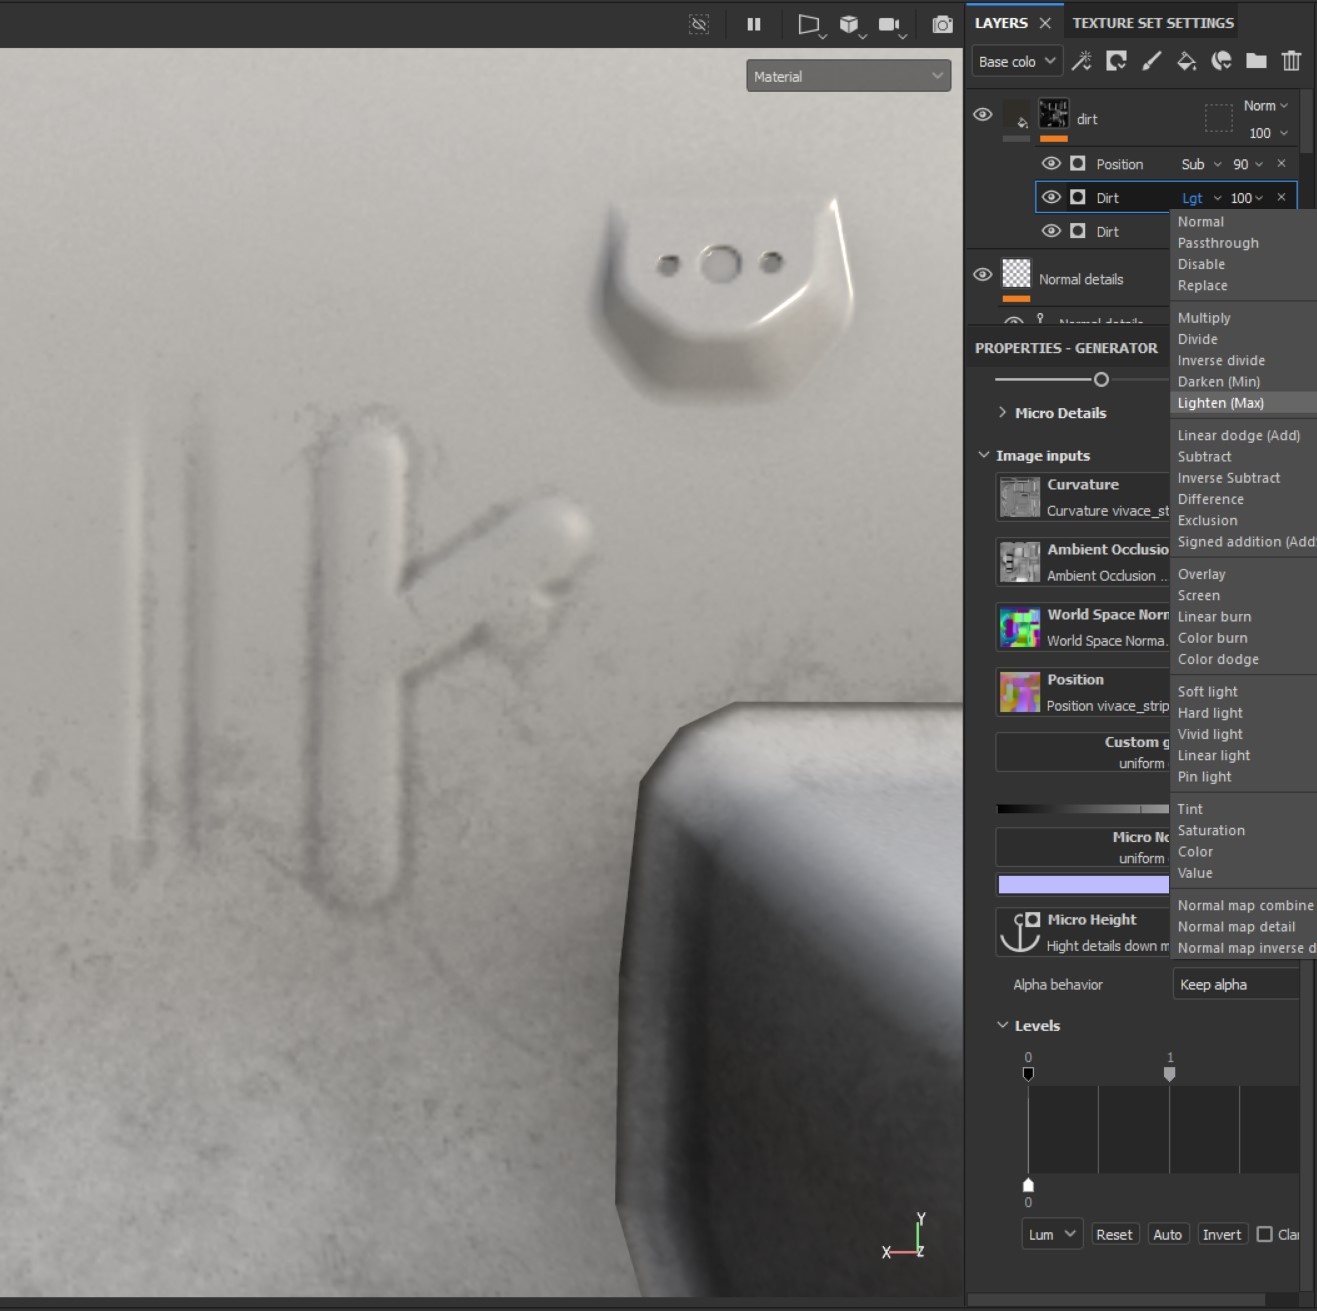
That’s pretty much everything you need to know about this workflow to work on your project.
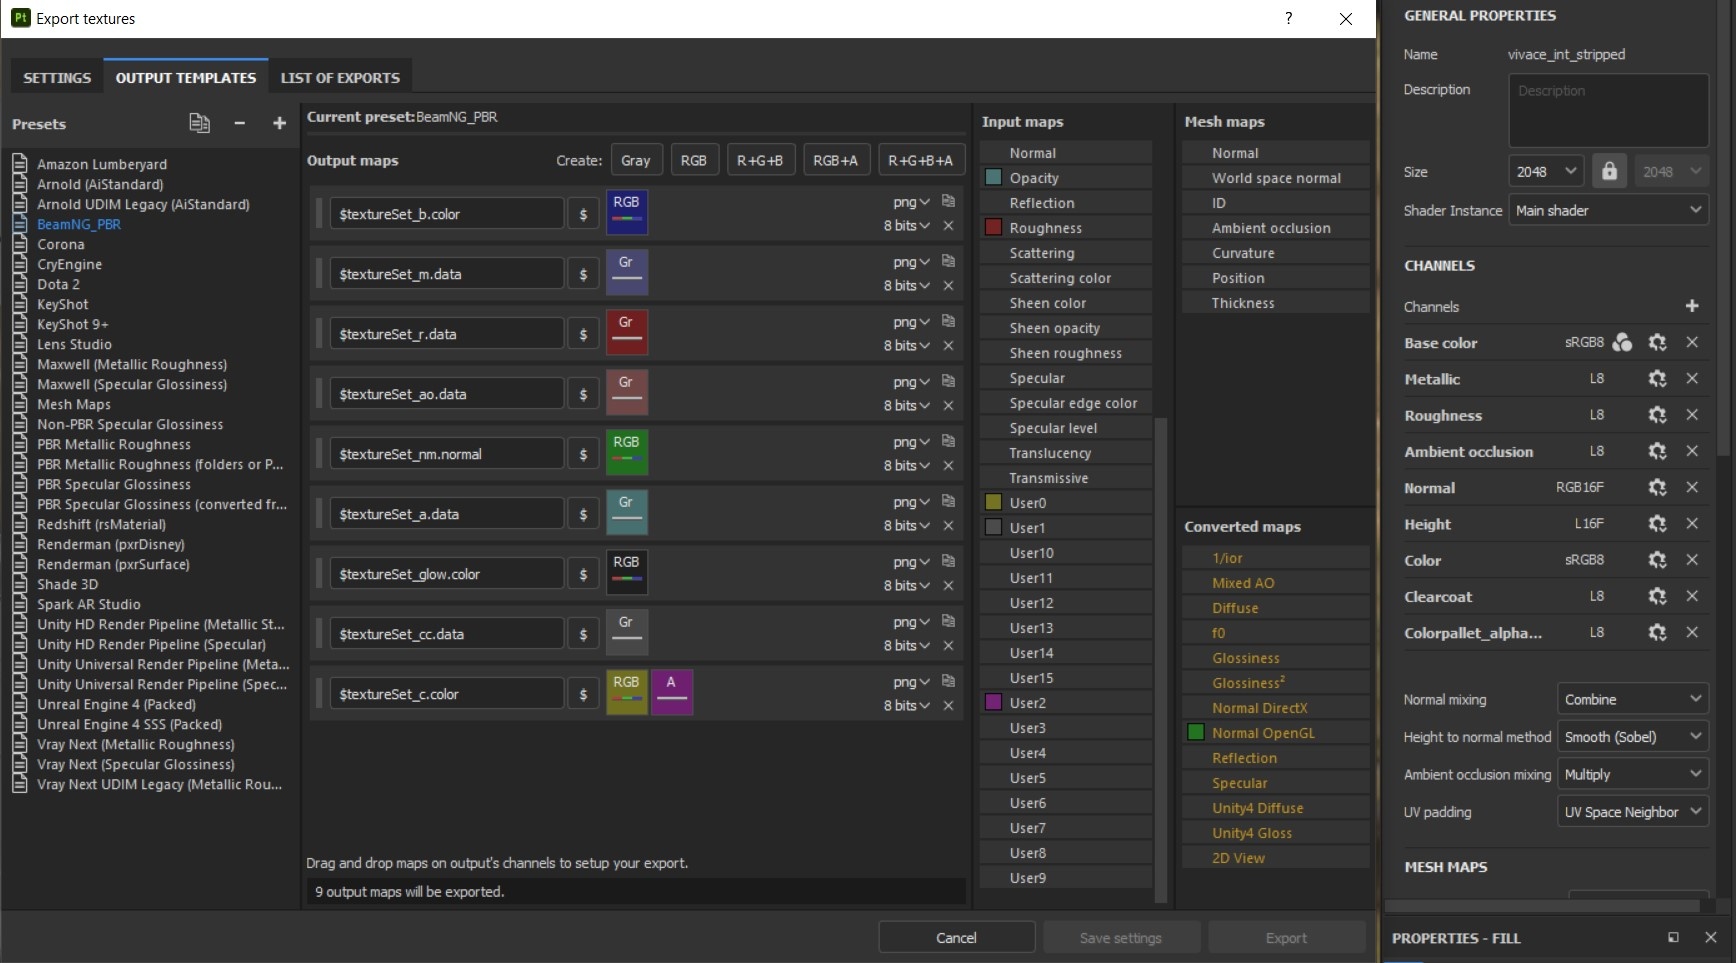
When you’ve completed the work, follow this export setup:
Color=User0Clearcoat=User1Colorpallet_alpha_mask=User2
Was this article helpful?