Scene Tree
The Scene Tree is a fundamental tool when working on levels. It serves to display a list of all the objects that are present in the current level, and allows to quickly jump through them. Other things that can be done within the scene tree includes:
- Rename and move objects position in the scene tree
- Pack objects into groups, and turn groups into prefabs
- Hide and lock objects
Basics
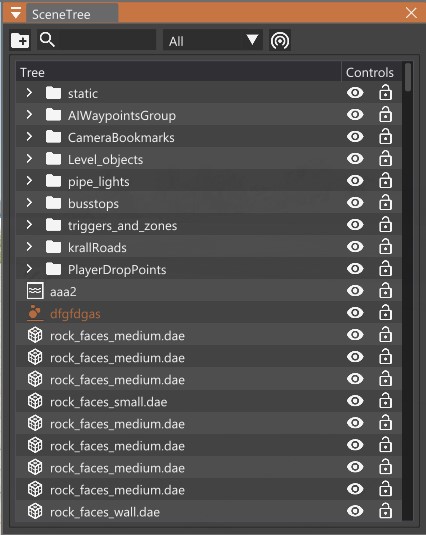
The content of the Scene Tree window, starting from the top, are:
Element
Description
Image
Element
Crate New Group
Description
Creates a new group / folder
Image
Element
Search Bar
Description
Quickly search for an object
Image
Element
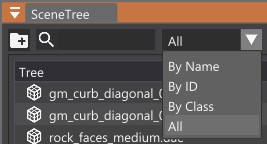
Search By
Description
Changes the mode of the search (by name, ID, Class)
Image
Element
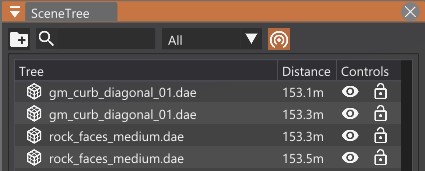
Only Show Near Objects
Description
If enabled, the Scene Tree will only display objects near to the current camera position. Objects will be listed from nearest to farther, with the distance visible in meters
Image
Below is the Scene Tree itself. Objects are listed with their default name (or custom name if one was given). The small icon in front of the name indicates the class (type) of the object.
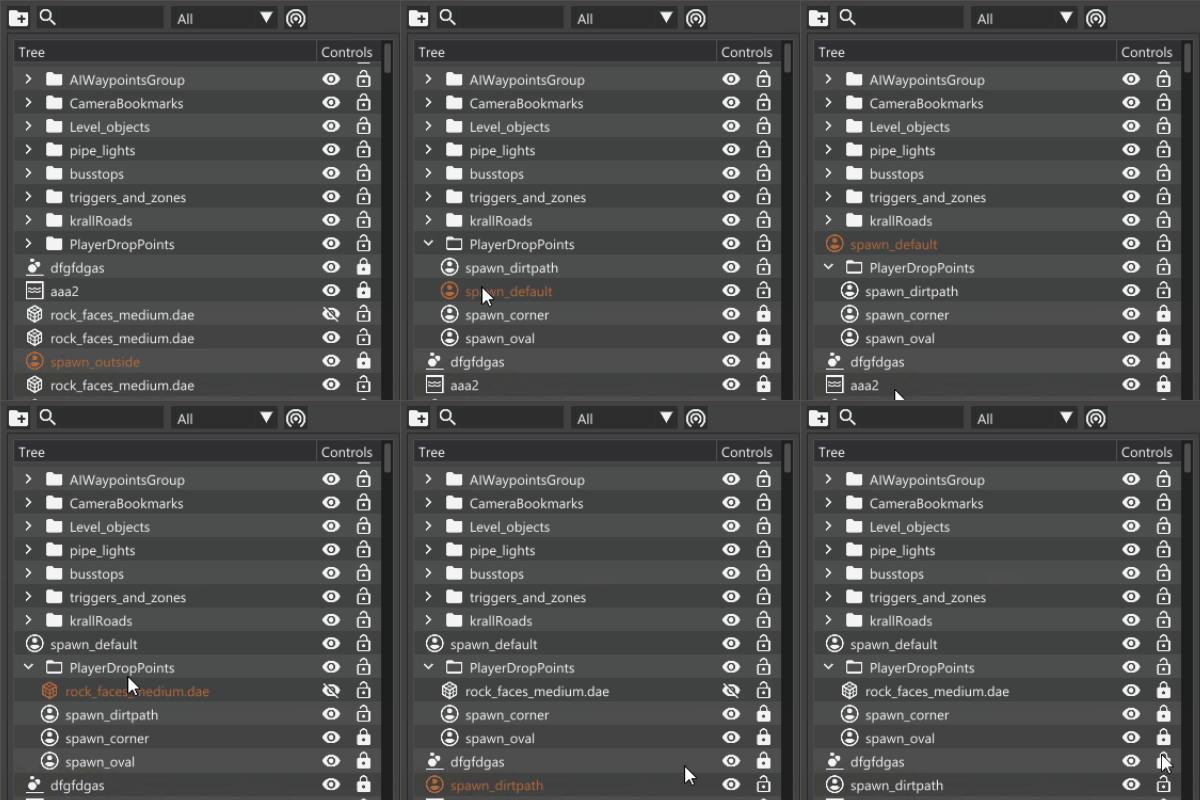
Using Right Mouse Button on any item will display several options:
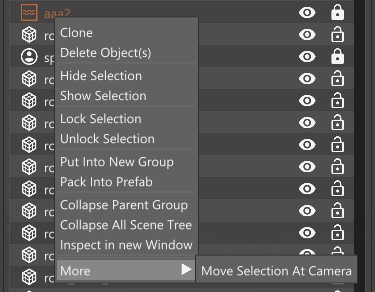
Element
Description
Element
Clone
Description
Duplicates the selected object
Element
Delete Object(s)
Description
Delete the selected object(s)
Element
Hide Selection
Description
Hides the selected object(s)
Element
Show Selection
Description
Unhides the selected object(s)
Element
Lock Selection
Description
Locks the selected object(s), so that they cannot be modified
Element
Unlock Selection
Description
Unlocks the selected object(s)
Element
Put Into New Group
Description
Puts the selected object(s) into a new group
Element
Pack Into Prefab
Description
Packs the selected object(s) into a prefab file, a special kind of group that can be loaded/unloaded from the level at will
Element
Collapse Parent Group
Description
Collapses the group the object belongs to
Element
Collapse All Scene Tree
Description
Collapses the entire scene tree list
Element
Inspect in new Window
Description
Opens a new Inspector
window locked to the selected object
Element
Move Selection at Camera
Description
Moves the object in front of the camera position
Last modified:
April 20, 2021
Was this article helpful?